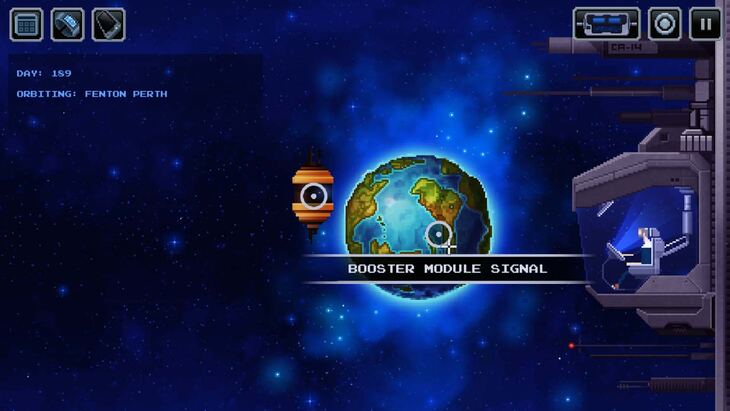
When you arrive, you will be able to locate a booster module signal from the planet. That is your only landing option (other than contacting the satellite which is automatically done).
- Advertisement -
<?XML:NAMESPACE PREFIX = "[default] http://www.w3.org/2000/svg" NS = "http://www.w3.org/2000/svg" />
While Fenton Perth has 4 Ending Cards, there are two mutually exclusive storylines that have very different results.
Contents
Begin The Process
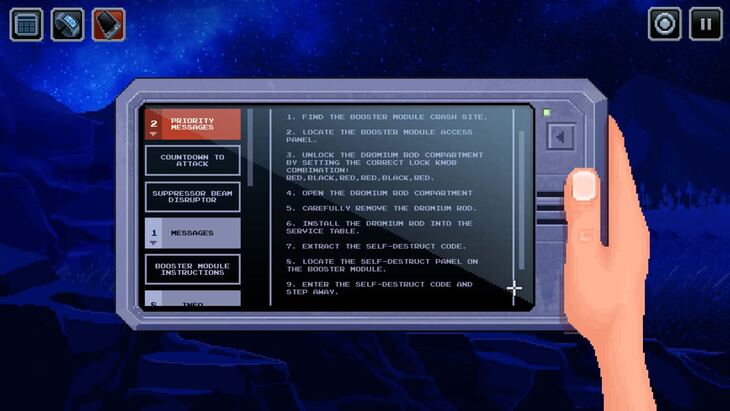
To start, you should check your Infopad and look at the Booster Module Instructions under Messages. This will be the list of instructions you need to follow in order to safely extract the Dromium and perform the job.
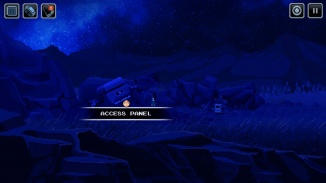
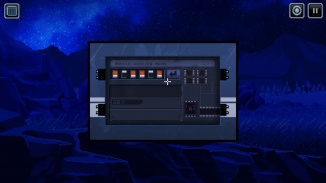
Head left to the fallen booster module and select the Access Panel. Disengage the 4 locks (2 on each side) and then set the following lock combination of Red, Black, Red, Red, Black, Red.
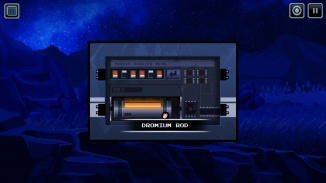
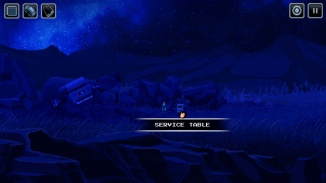
Take the exposed Dromium Rod and head to the Service Table on your right. Use the Rod on the Service Table to get started.
With the Dromium Rod in the Service Table, you can retrieve the self-destruct code, which is randomized each playthrough.
As you set the self-destruct sequence, you will note that the Dromium rod has been stolen by one of the planet’s inhabitants. Head right to chase after the thief to head into a new area.
Keep going right, past the tree and down the hill as you chase after the thief.
You will eventually reach a small house near a river. Investigate the door and you will be knocked out.
You will awaken in a house. Start by grabbing the Clothes on your left and head down the stairs.
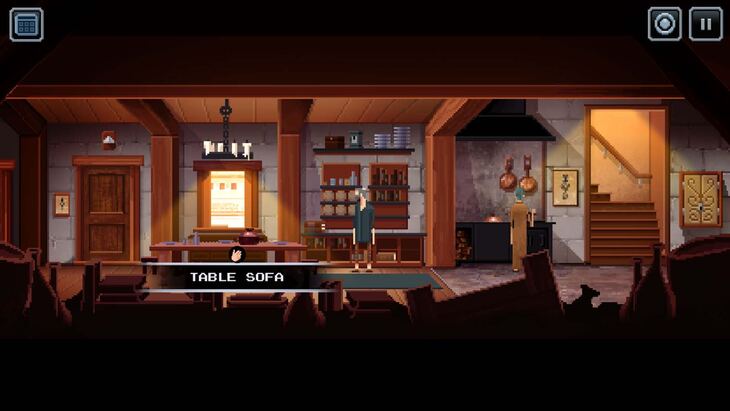
You will meet Samoa and Lahsa, and Samoa will offer you something to eat. Sit down at the Table Sofa and eat. When you are done, head out the door on your left.
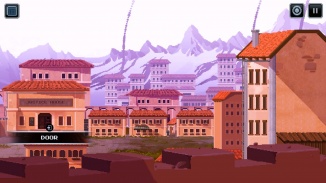
When you are outside, click the structures above the gap in the middle of the fence to enter the city. The Justice House is on the left but you can’t enter without Samoa (or meaningfully do anything).
Head into the Shop Area to the left of the Justice House and then immediately go back out. Head back to the Justice House entrance and Samoa will be there. Pick any option and you will be taken inside the Justice House.
You will meet with the Governor. After some talk, agree to help Samoa and you will get her notebook.
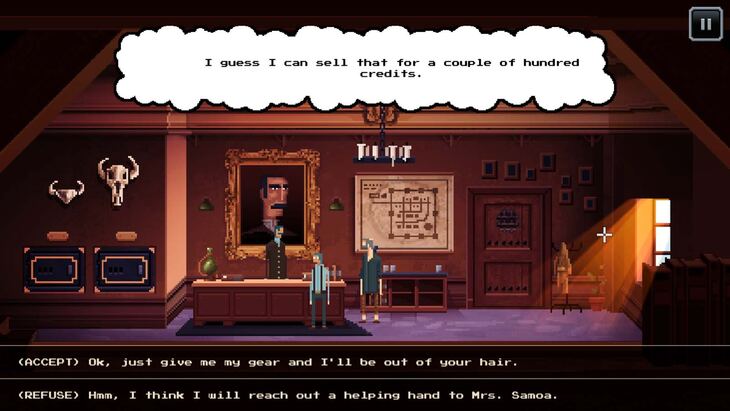
The Governor will speak to you after Samoa leaves. The Governor is willing to give you back your clothes and 6 gold pieces if you opt to leave immediately. You can agree or refuse because you want to help Samoa.
If you agree, you will get your items back but you will not have the Dromium Rod. Head back to the beginning of the area (with the Service Table, just keep going left) and contact Shuttle to leave.
Stay To Help
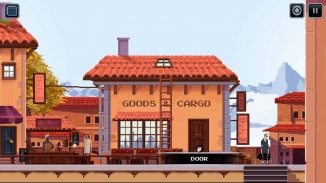
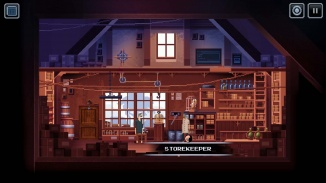
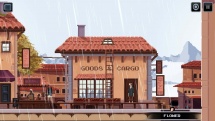
If you choose to help Samoa, leave the Justice House and head to the Shop Area. Head into the Goods & Cargo building. After speaking with the Shopkeeper (Frank) about your origins, mention that you are picking something up for Samoa.
Frank will bring up Samoa’s Groceries and you can take them from the table.
Head back to Samoa’s House by going east of the Justice House and into the House Area. Enter the home and speak with Samoa and give her the groceries. She will then ask you to help around the house if you can. You can accept or refuse if you want to explore the town a bit more.
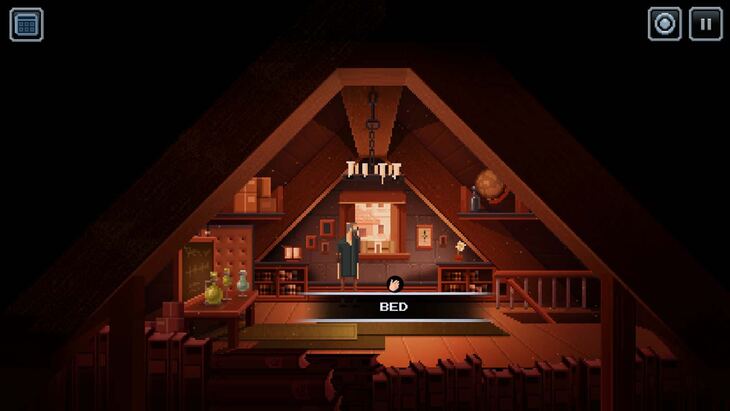
Agree to help out around the house and the scene will shift to dinnertime, where you can ask Samoa questions about their life. Head upstairs when dinner is over (Samoa won’t let you go outside). Lie on the bed to continue. The game will confirm if you want to sleep or if you want to look around the house more.
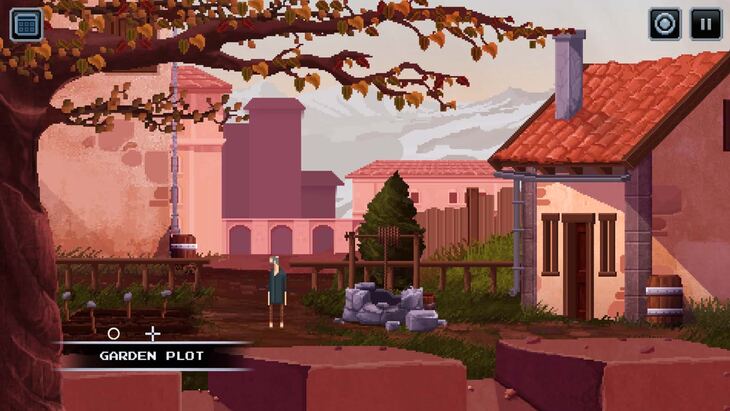
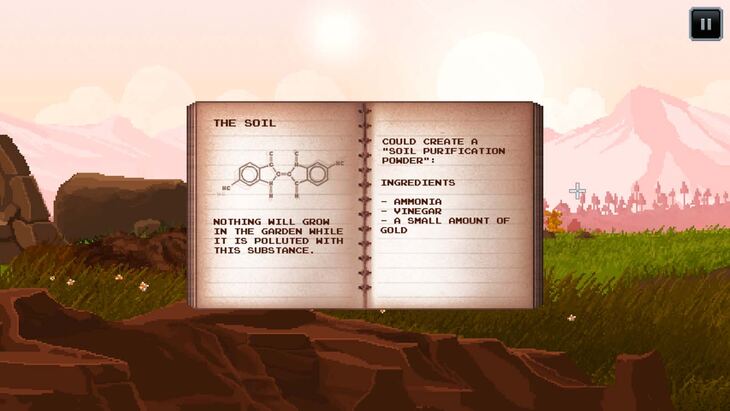
When you wake up, head downstairs and sit at the Table Sofa. After eating, leave the house and you will mention the idea of bringing some soil back to the Service Table at the start of the area. Investigate the Garden Plot and you will get a Soil Sample.
Leave the House Area and go all the way left to leave the city. Head back to the Service Table at the beginning of the area (you can speak to Lahsa near the tree if you like) and then use the Soil Sample on the Service Table.
You will write up a recipe to restore the soil, which is written in the notebook. You need ammonia, vinegar and gold powder.
Head to the Goods & Cargo shop and speak to Frank. He does have vinegar and ammonia, but ammonia is locked behind a safe and the key is missing. Vinegar will cost 25 money, and you need to find 8 Skylips and 4 Tree Fruits to get the money. You can also “hunt” the wildlife to get money.
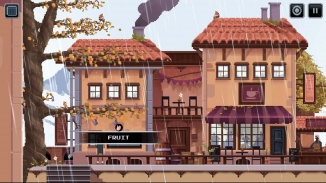
You can find Tree Fruits on the tree at the very left of the Shop Area. You can also find them at the tree where Lahsa is sitting (the area to the right of the Service Table).
You can get Skylip Flowers in the area outside the city, left of the small shed where you were knocked out. You can also find the flowers east of Samoa’s house, just past the shed. You can also find some flowers at the right exit of the Shop area, just outside the Goods & Cargo building.
Taking some flowers behind Samoa’s house can also net you a Goldpearl Flower, which is a source of gold powder.
Drag the Tree Fruits and Skylip Flowers from your inventory onto Frank and you will get paid (40 money altogether), which will be enough to buy vinegar.
To get ammonia, you need to help Frank find his missing bird. Head left of the Shop Area to the tree that you could get some Tree Fruits from. You should see a Wild Bird in a tree. Use a spare Tree Fruit on the Wild Bird to get it into your inventory as a Bird.
Use the Bird on the caged Bird in the store to reunite them. Speak to Frank about the ammonia and you will eventually be able to buy ammonia for 35 money.
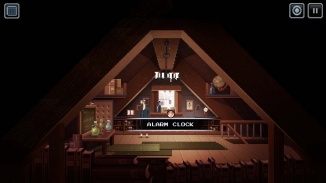
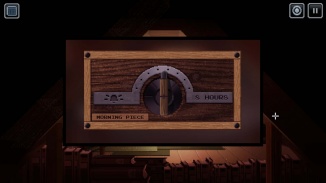
To get the meat, grab Samoa’s groceries from Frank and give them to Samoa. Head up to your room and interact with the Alarm Clock on the windowsill. Set the alarm dial to point to the middle (click the middle of the dial area), then go to bed.
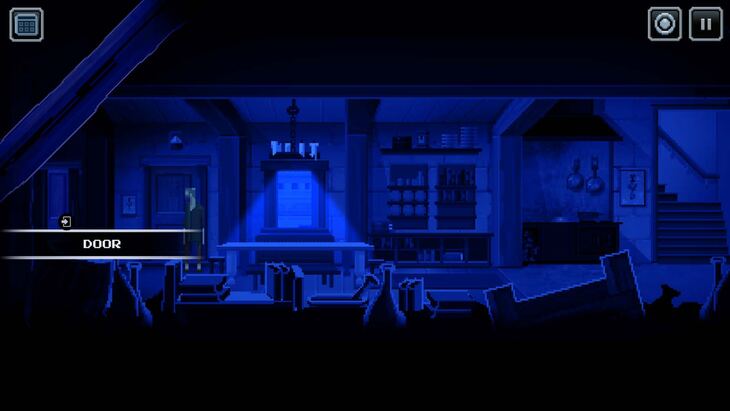
You will then wake up in the middle of the night. Head downstairs and go to the door on the left (not the door leading outside).
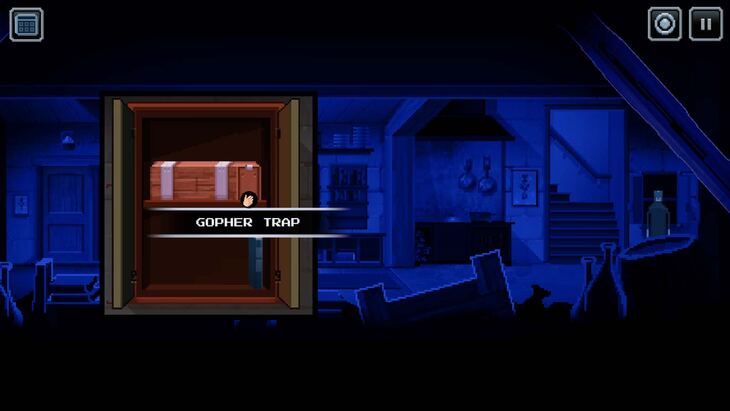
After a short scene, grab the Key in the middle of the room. Use it to unlock the locker on the right side of the house (to the right of the stairs leading to your room). 
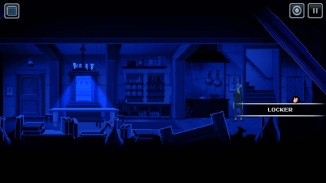
Inside the locker you will find a Gopher Trap and a Diary. You can’t do much else, go back to sleep.
If you want to keep helping Samoa, keep reading for the Gopher Trap instructions. If you want to investigate the Diary, you can do so. However, you can't do both.
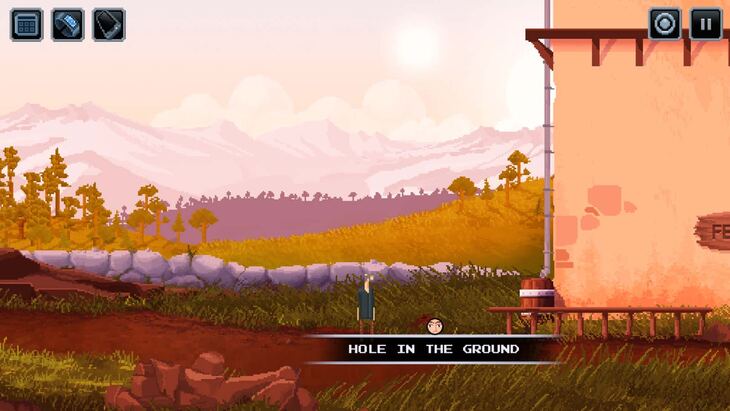
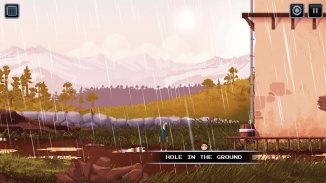
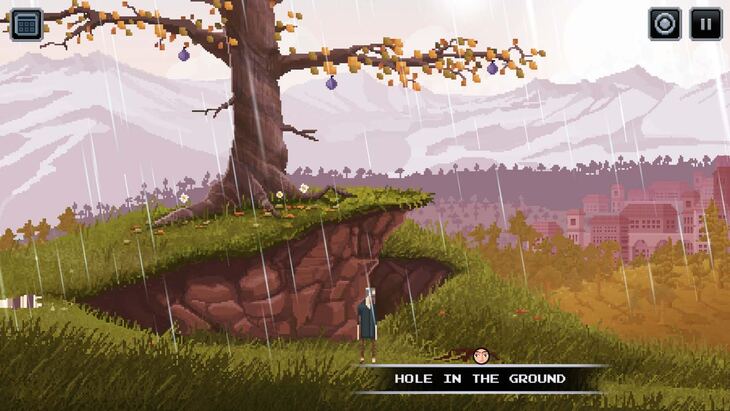
When you wake up in the morning, head west out of the city. Look for two “Hole in the Ground” spots. Open your inventory and click on the Gopher Trap. You should see an option to place the Gopher Trap where you stand.
Place the trap between the two “Hole in the Ground” spots, and then walk between them. A gopher should run out and get caught.
You can do this again at the tree east of the Service Table/beginning of the area. Place the trap west of the first Hole in the Ground that you see and then walk to the west.
Trade the Gophers in to Frank at 10 money per Gopher. This should give you just enough money to get the ammonia.
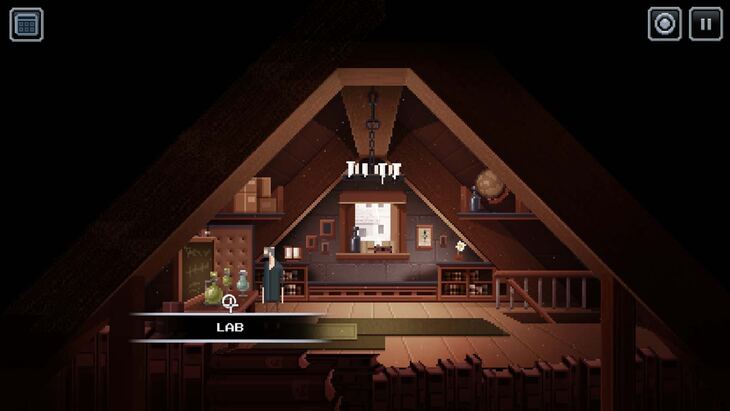
Head back to Samoa’s house and go into your room. Interact with the lab on the left by dragging the Vineger, Ammonia and Goldpearl Flower from your inventory to the lab. This will give you the Soil Purification Powder.
Use the Soil Purification Powder on the Garden Plot left of Samoa’s house (the same area where you got the Soil Sample) and the story will progress.
Using the Soil Purification Powder will permanently lock you into the storyline where you help Samoa. If you want to investigate the Diary findings, don't use the powder just yet.
When you wake up and go down the stairs, Samoa will ask you to go outside. When you go outside, the garden will be healed. However, the Governor will move to evict Samoa. After the scene, you can head to the Garden Plot and take a Flower to add the Beautiful Flower to your inventory.
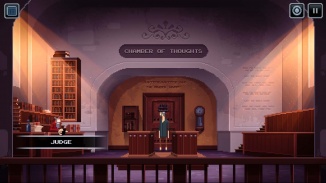
Head to the Justice House and enter the door on the right. Speak to the Judge inside. The Judge needs an Apple to help you.
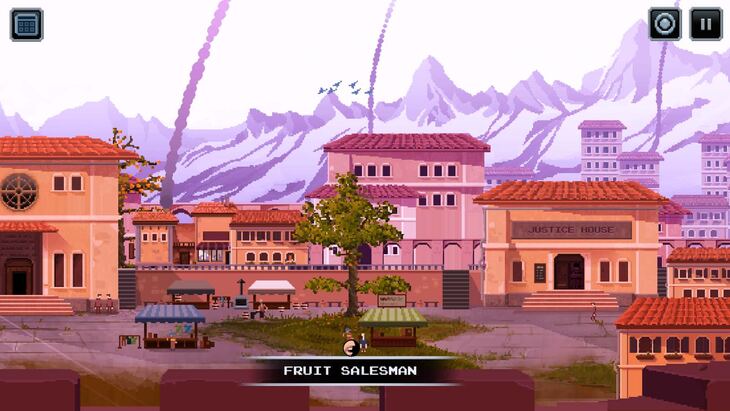
Go outside in the town and talk to the Fruit Salesman approximately southwest of the Justice House. They want 3 money for the apple, but will accept a bag of flour.
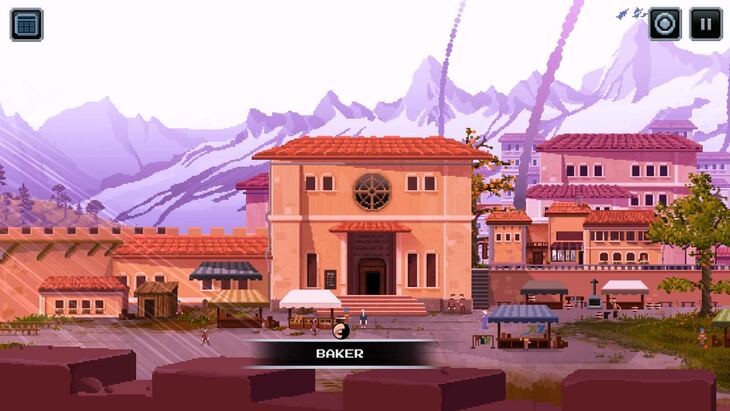
Talk to the Baker northeast of the Fruit Salesman to try and get a bag of flour. They are willing to give you the flour for free, but you need a bag.
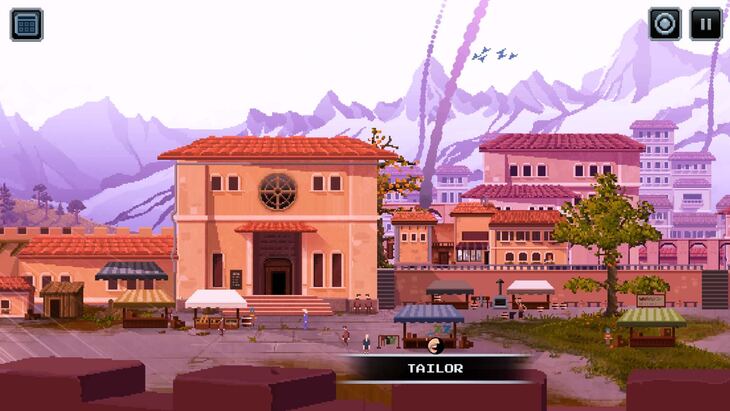
Talk to the Tailor southeast of the Baker. They can make you a bag but you need a needle.
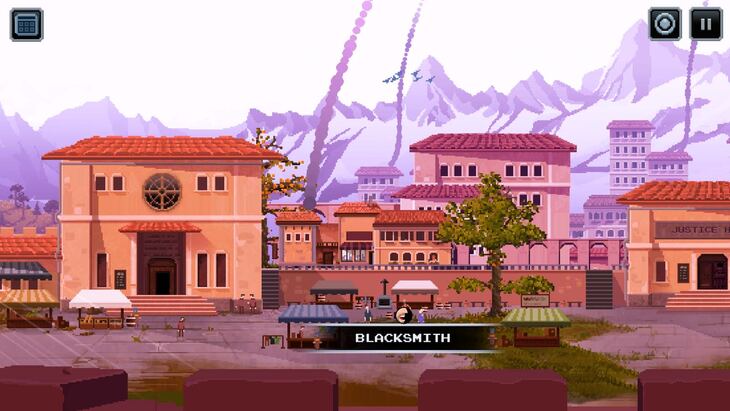
Northeast of the Tailor is the Blacksmith. Talk to them about the needle and you are charged 10 money. The Blacksmith is willing to accept a nice gift for his wife instead of money.
Hand the Beautiful Flower that you grabbed from Samoa’s Garden Plot to the Blacksmith (if you didn’t get it, go back and get it now). You will get a Needle. Give the Needle to the Tailor to get the Cloth Bag. You don’t have any money, but the Tailor is willing to take the Needle.
Give the Cloth Bag to the Baker to get Flour Bag. Give the Flour Bag to the Fruit Salesman to get an Apple. You can then go back to the Judge and give them the Apple.
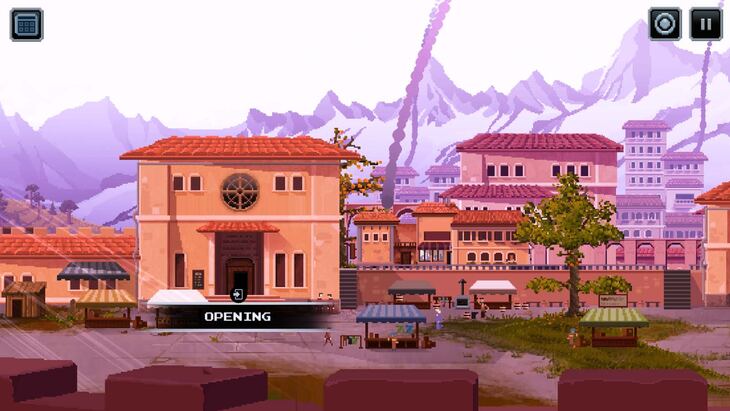
The Judge can’t give you an appeal form, but directs you to the Librarian. Head out the Justice House and go west to the building whose doorway is labeled “Opening”. This is the library if you haven’t already been there.
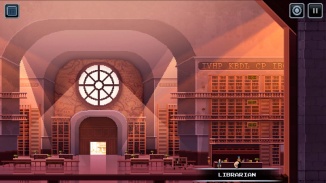
Speak to the Librarian inside. There is a form available, but it isn’t ready yet. If you can help them sort books in the book trolley, they will have the form ready for you. The Trolley is to the left of the Librarian.
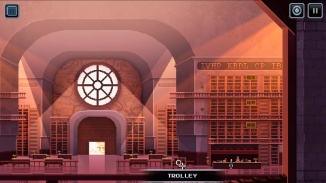
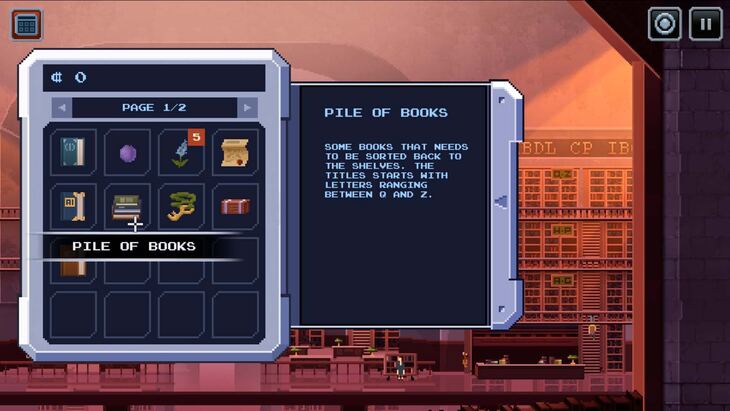
Interact with the Trolley to get a Pile of Books. Examine the Pile to learn that the books need to go in Shelves Q-Z. Drag the Pile of Books from your inventory onto the top Q-Z shelf.
You will note that you don’t have time to sort the books. A Librarian Worker will come in pushing an empty Trolley. Speak to the Librarian Worker and talk about their book burning activities. You can get them to search the other trolley for books that need to be burned but it won’t do anything yet.
After you are done talking, head into the Archives room to the left of the Librarian Worker.
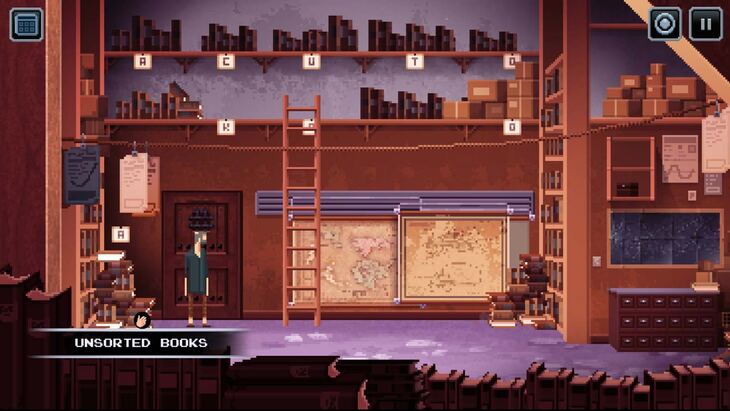
Inside the Archives, look to your left for a pile of Unsorted Books. Interact with the pile to get a Book. Make sure the title references nighttime and some sort of activity (ie. Rats into Night). Interact with the Unsorted Books again until you get one with an appropriate title.
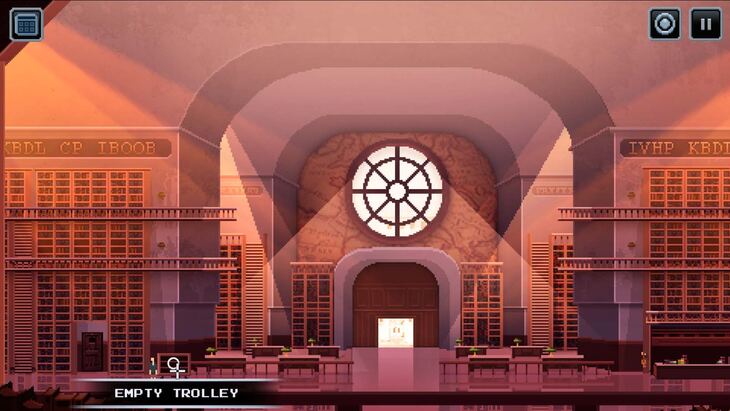
Head back into the main library and drop the Book into the Trolley left of the Librarian. Ask the Librarian Worker to check it and they will take the Trolley away. Interact with the Empty Trolley left behind and speak to the Librarian to get an Appeal Form.
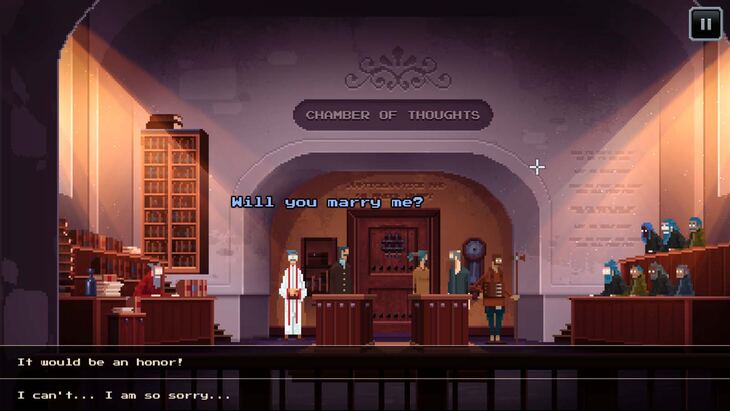
Head back to Samoa with the Appeal Form and the scene will shift to the courtroom. As the scene plays out, Samoa will ask you to marry her to get out of the situation. You can accept or refuse.
Regardless of how the scene plays out, Samoa will want to give you a Stone Cube as a gift. You can accept or refuse. You can eventually go to Justice House to get your belongings. When you are brought to the Governor’s Office, a safe will be opened that has your belongings.
To open the other safe, look to the Coat that is on the right side of the door and interact with it to find a Note. This will let you open the other safe which contains the Dromium Rod and some Gold Pieces. Leave the office and you will automatically leave the planet.
Investigate The Diary
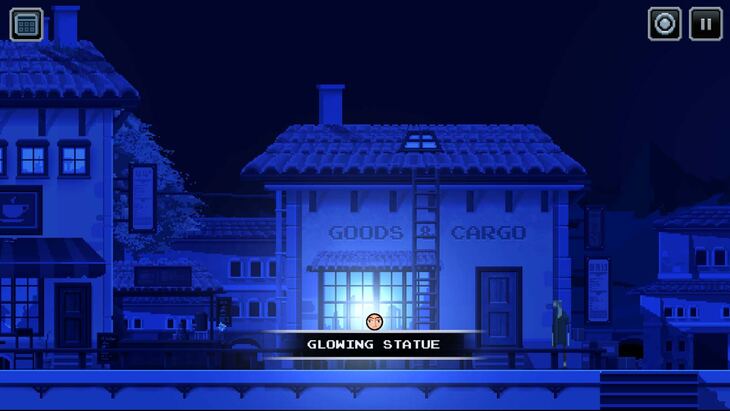
Once you get the Diary, leave the house and head to the Shop Area. Outside the Goods & Cargo building, you can see a Glowing Statue if you inspect the shop window. You can try to climb up the ladder and get to the window, but it is locked.
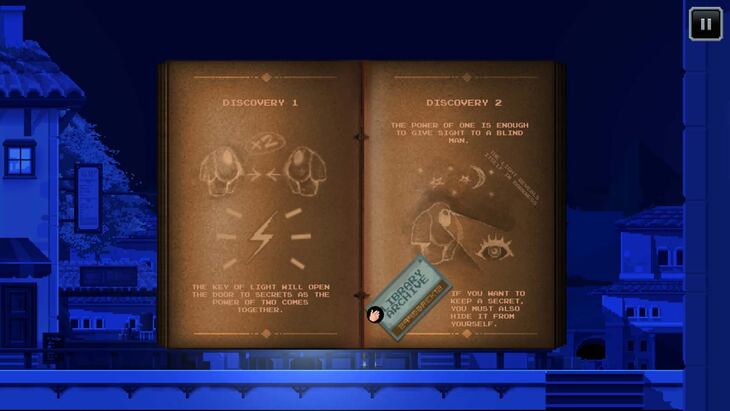
Read the Diary and turn the page to find a Library Archive Ticket. Go to bed and the next morning, head to the Library and give the Library Archive Ticket to the Librarian.
The Librarian will mention it will take time to set up the archive. Leave the Library and go back in to have the Librarian mention that everything is ready for viewing in the Archives. Head left and enter the Archive room.
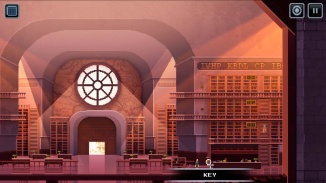
When you enter the room, inspect the Research Poster in the middle of the room. It will be blank. Leave the room, but head back to the Librarian. You will see a Key to the left. Wait for the Librarian to go up and sort books on the shelves, then interact with the key to put the Library Key in your inventory.
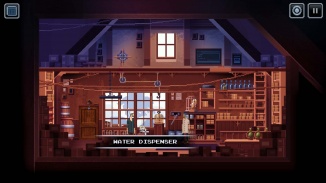
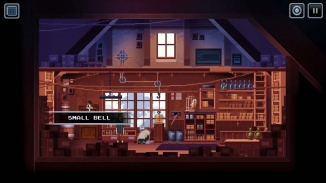
Head to the Goods & Cargo shop. In the middle of the room there will be a Water Dispenser. Interact with it and Frank will have to clean up the mess. While Frank is cleaning up the mess, interact with the Small Bell above the door to prevent it from ringing.
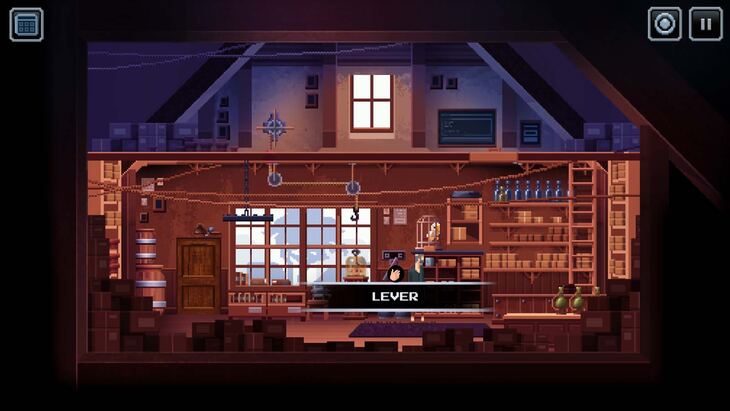
Return to the store while Frank is outside and enter. The door shouldn’t ring and signal him to come inside. Examine the Lever next to the Bird and turn it to open the attic window.
Return to Samoa’s house and set the alarm to wake up in the middle of the night again. Head to the Shop Area and go back to the Goods & Cargo building. You should now be able to climb up the ladder and enter through the attic window.
When you have made it through the attic window, use the Wheel to your left to lower a Hook above the statue. Use the Attic Hatch to the right of the Wheel to jump down.
Interact with the Hook while it is above the statue to connect it with the cover. Leave the store (interacting with the Small Bell above the door to avoid noise) and climb back up to the attic. Use the Wheel again to lift the cover off of the statue, then jump down the attic hatch and pick up the Statue.
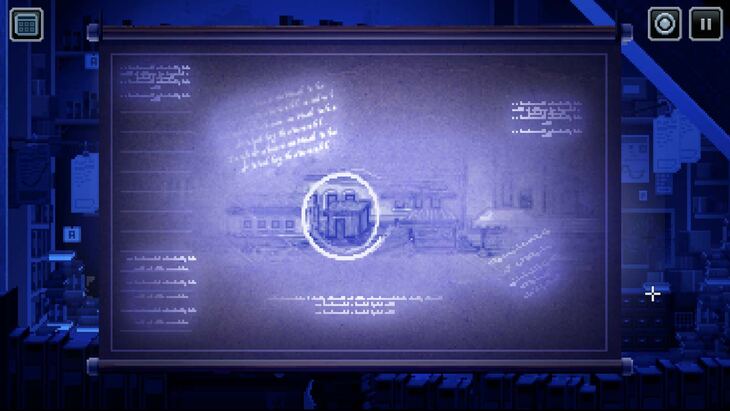
Head to the Library during night time and use the Library Key on the door. Go into the Archive Room and use the Statue on the Research Poster. This will reveal a location as well as other text that you can read.
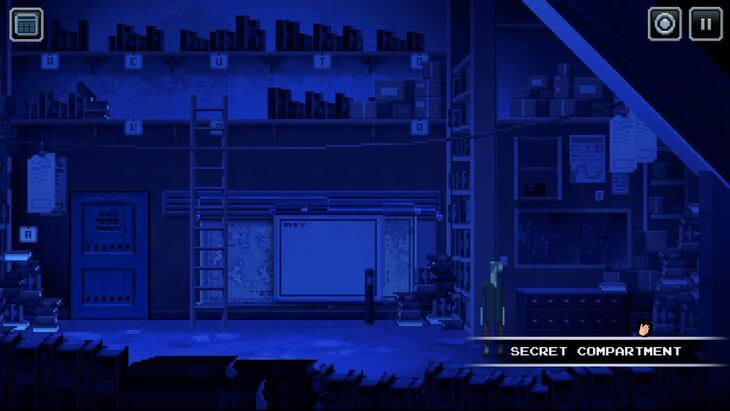
After reading all the text, look to the southeast corner of the Archive room to find a Secret Compartment. Interact with it twice to get your hands on the 2nd Statue.
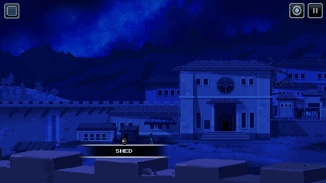
With two Statues, leave the Library and head to the Shed left of the Library. When you are inside the Shed, open your inventory and drag one Statue on top of the other.
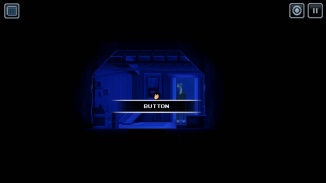
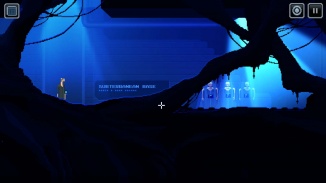
Once you do that, a Button will appear. Interact with the Button to enter a Subterranean Base.
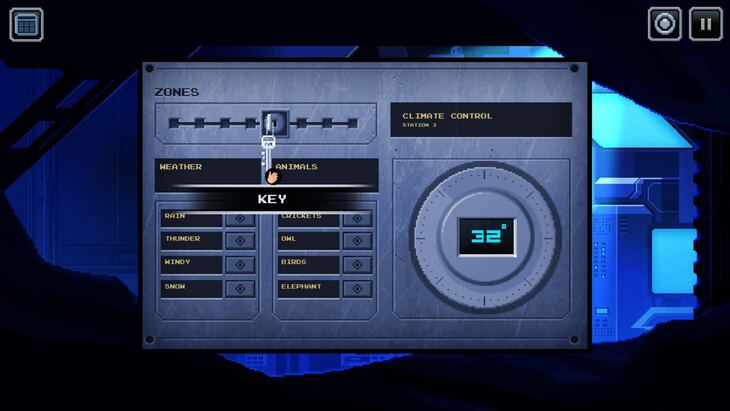
Head east inside the base and you will find some Schematics, Controls and a locked 2nd set of Controls. Investigate the first set of Controls to find a Key that you can take. Use the Key to unlock the 2nd set of controls and watch what happens.
You are given an Elevator Tag to leave the way you came.
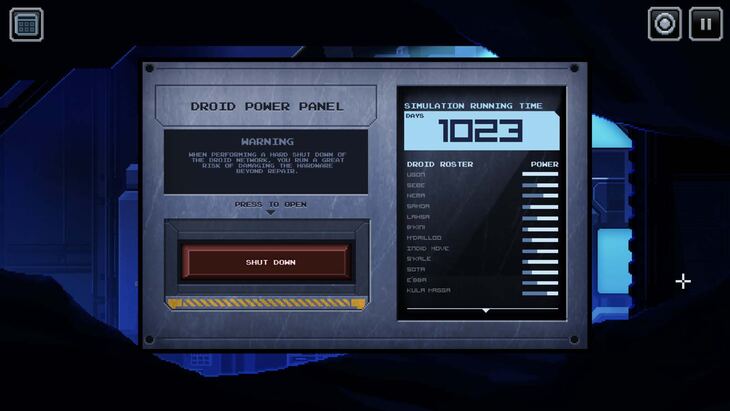
You will then get the option of shutting down the experiment or keeping it going by leaving without pressing the shutdown button. Regardless of the option you choose, use the Elevator Tag on the Elevator on the left to leave. You will get your equipment back and will leave the planet.
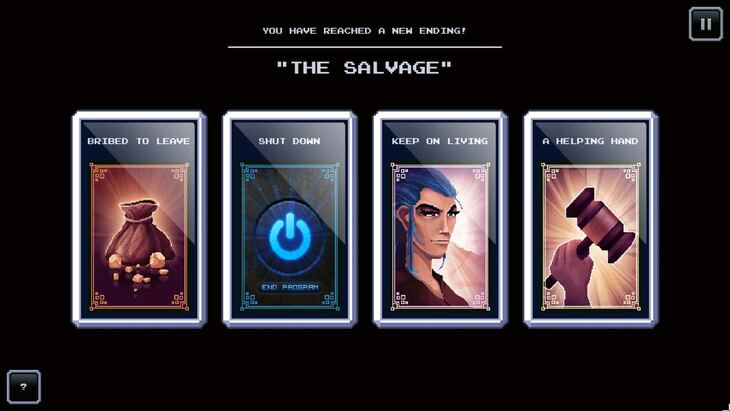
You will get 1 of 4 Ending Cards depending on your choices.
If you took the Governor’s offer to leave immediately, you will get the “Bribed To Leave” Ending Card. You will gain 6 Pieces of Gold but lose a few hours of time.
If you chose to shut down the ongoing experiment, you will get the “Shut Down” Ending Card. You will get the Dromium Rod.
If you chose to keep the experiment going (you didn’t press the shutdown button), you will get the “Keep On Living” Ending Card. You will get the Dromium Rod.
If you saved Samoa from the Governor, you will get the “A Helping Hand” Ending Card. If you managed to open the other safe, you will get a Dromium Rod and 6 Gold Pieces. If you accepted Samoa’s gift, you will get the Stone Cube, which you can dismantle to get a Star Fragment.
Now it is time to either head to Celic or start heading towards Lyme and Pi if you are starting to think about how you are going to reach Barrier Control.












0 commenti:
Post a Comment