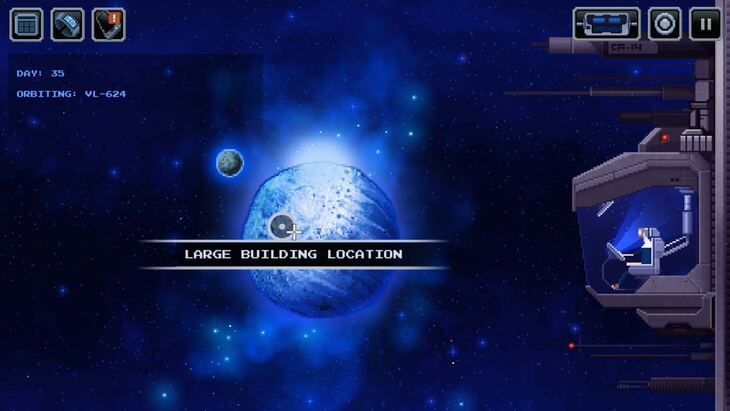
When you arrive at VL-624, there is only one location to access: the Large Building Location.
Contacting doesn’t do anything significant, which leaves landing as the only option.
- Advertisement -
<?XML:NAMESPACE PREFIX = "[default] http://www.w3.org/2000/svg" NS = "http://www.w3.org/2000/svg" />
There are actually 3 different scenarios after you progress in the area, with different puzzles and different stories. They will be separated into Scenarios which you can check depending on the actions you want to pursue.
Contents
The Lab
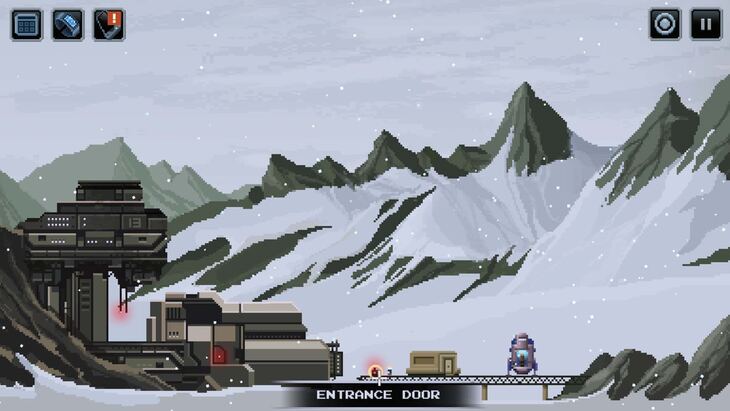
When you arrive at the Lab, inspect the Entrance Door on the left to lower the door that prevents you from going inside the building. Once it fully lowers, move your mouse over the building and choose to enter the building.
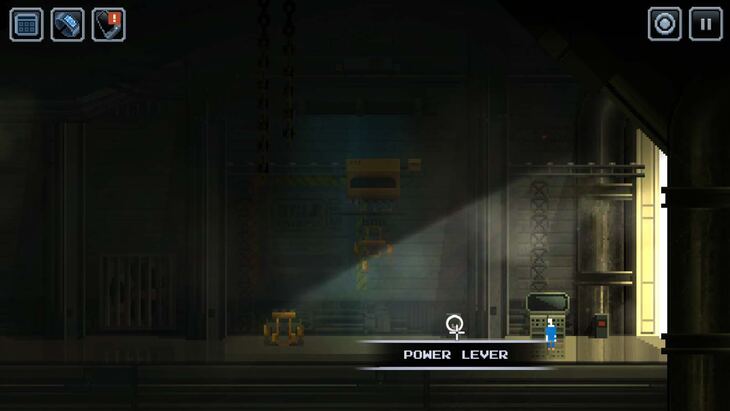
Once inside, you will note that there is no power. Head left to find a Power Switch that you can activate to restore power to the station.
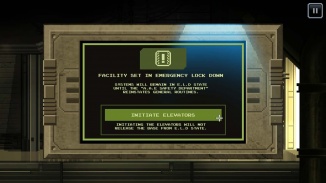
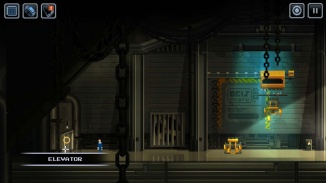
Head right near the entrance and interact with the Terminal. Reactivate the elevators with the terminal, then head left to the elevator and head down (interact with the Elevator button inside the elevator to go down).
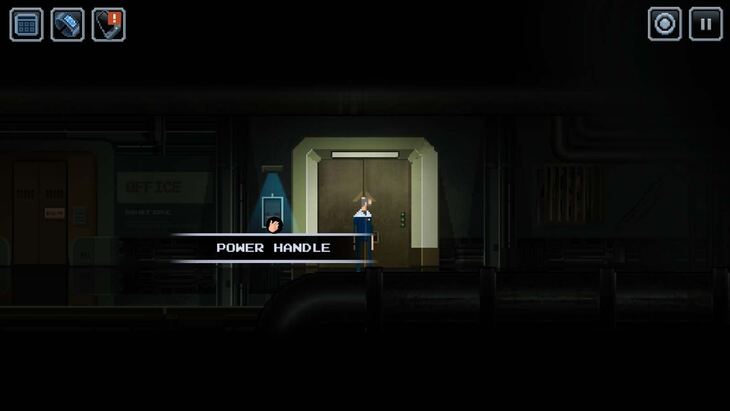
When you reach the bottom, interact with the open Elevator Doors and then interact with the Power Handle on your left. Continue going left (there is nothing on the right).
As you head left there will be shaking. When it stops, continue into the first office you see (it should have the “OFFICE” sign outside and another sign indicating it belongs to Dr. Kake).
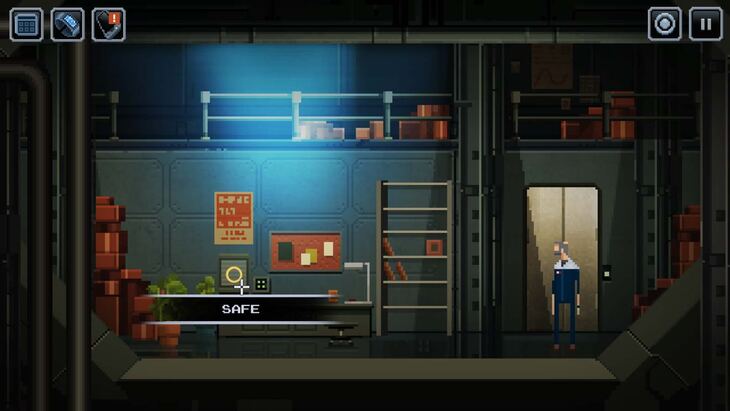
Inside the office, you can get 3 Case Files from the shelf and pick up the Pen Cup on the table to get 3 Tokens that are used for a vending machine. You can inspect the Safe, but you don’t have the combination and won’t be able to do anything.
Head outside and continue left down the hall until you reach another set of Elevator Doors. Head inside and go down.
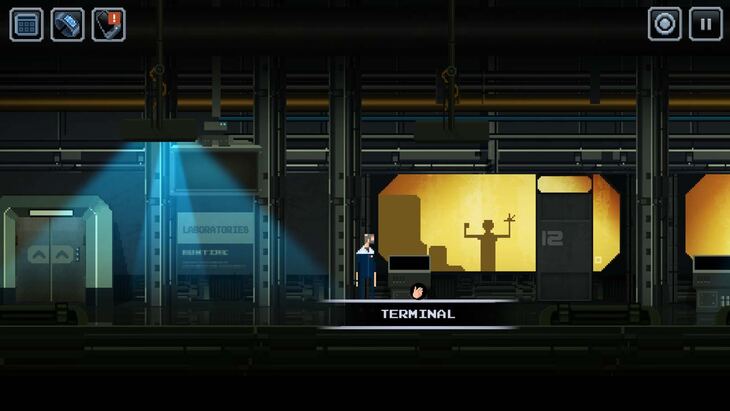
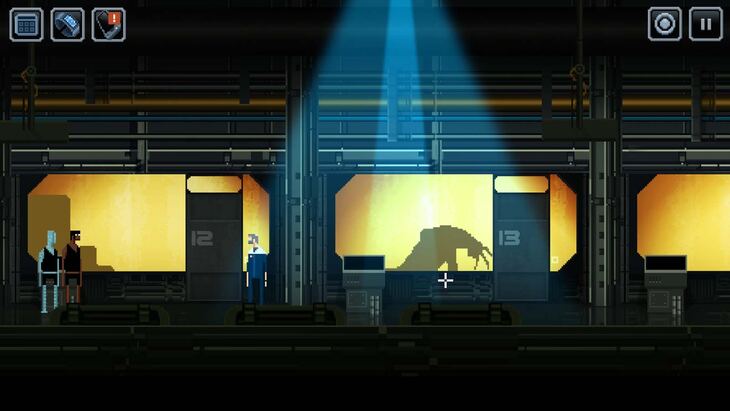
On the next level, head right towards the laboratories and you will see a moving figure behind a #12 door pointing towards the terminal.
Access the terminal and select “Intercom”. You will talk to a scientist who has been trapped. Talk to them to discover that they are Dr. Kake, and you need to head back to their office to grab an access stick. It’s the same office where you found the Case Files and Tokens, only you now get the access code to the safe, which is 4333. The game will also save after speaking with Dr. Kake.
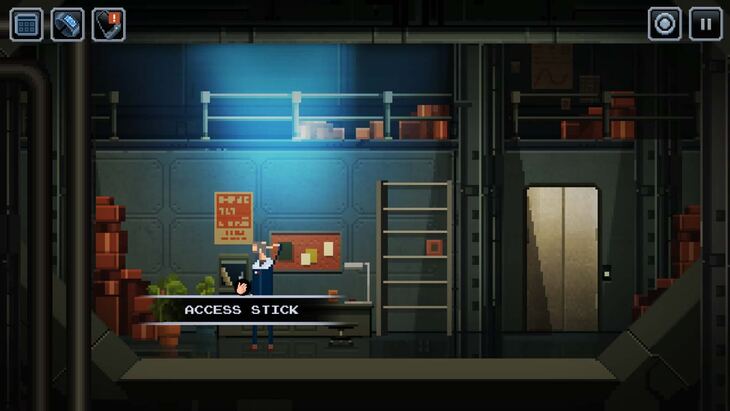
Head back to the office and interact with the safe. You will automatically input the safe combination and can pick up the Access Stick along with a Personal File.
Scenario 1
With the Access Stick, head back down to the level where you found Dr. Kake and head left into Area 52. There will be a door with an Access Stick Slot; use the Access Stick to get clearance and enter the door.
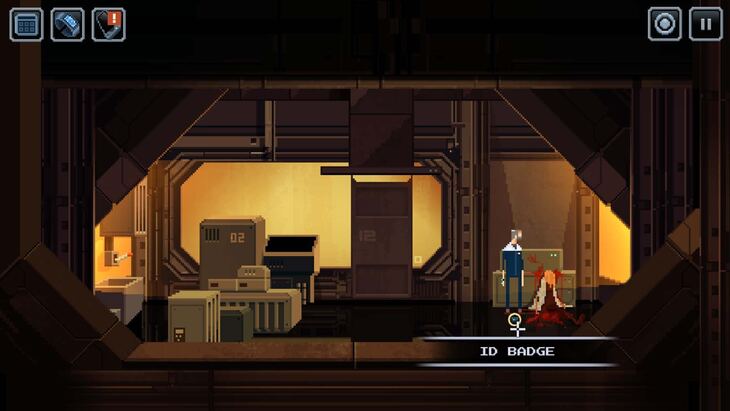
When you enter, flip the Power Handle near the door and a scene will play out with a creature. When you regain control, head right and go up the ladder. Go left (inspecting the ID Badge and Broken Terminal if you wish) and then press the Door Control. When the door has fully lifted, use the nearby Remote Control.
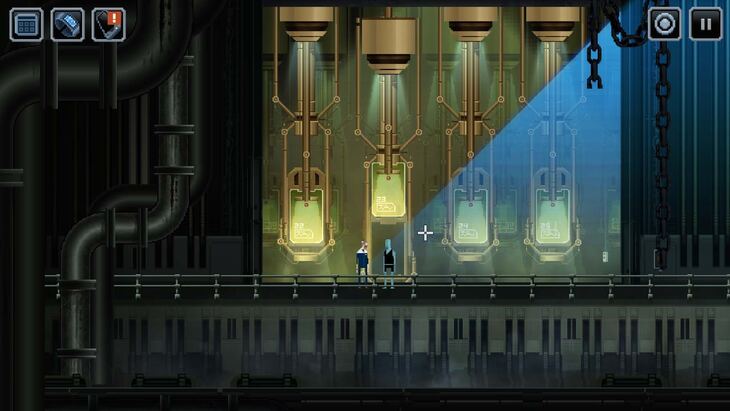
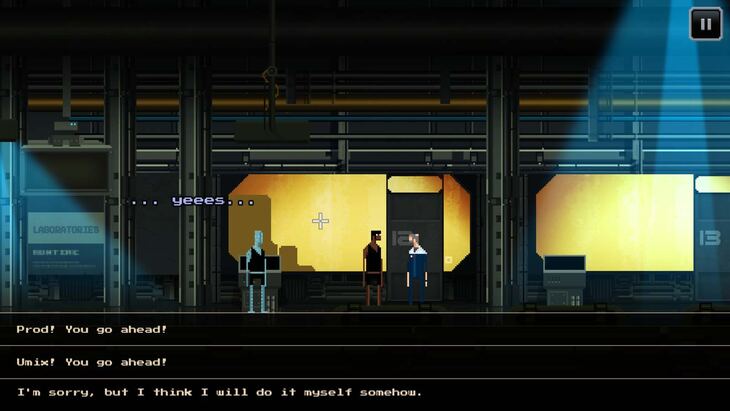
When a row of chambers activate, first inspect and then interact with Chamber 23. You will find Umix inside, who you can ask to accompany you on your way out.
Inspect and interact with Chamber 24 to release another body, Prod Wontoon, who will tell you about the elevator on the right that you can escape through. Prod will be able to activate the elevator, and you need to rescue them at a minimum.
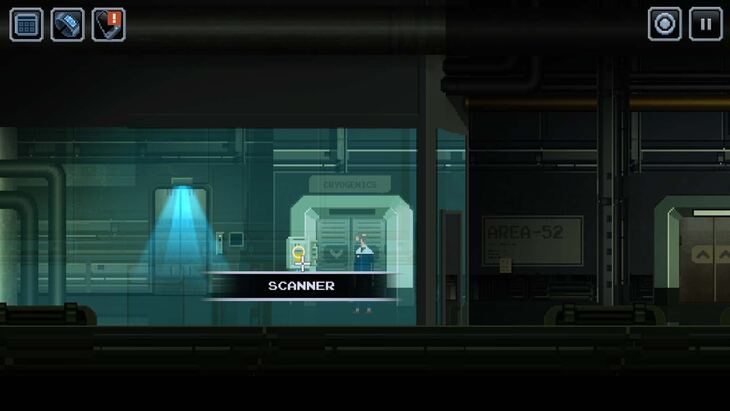
Head to the elevator on the right and use the scanner. It will fail, but Prod will be able to pass the security measures and allow everyone to escape.
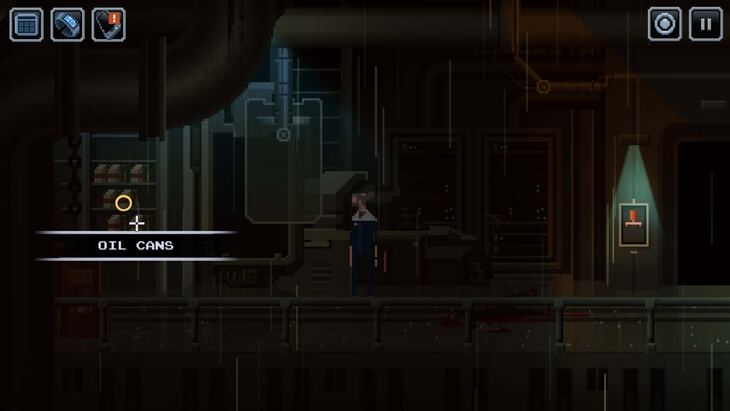
Back at the floor with the laboratories, you will try to find Dr. Kake but they aren’t present. Before you go up a level, head back into the room where you saw the creature. Apart from the blaring siren, head left to find an Oil Can to put into your inventory.
Head all the way back to the entrance to find out the door has been closed because of the shaking. If you try to go back the way you came, Prod will suggest trying to fix a Unit Loader with a new energy source which can be found in Lab 14. Prod will give you their Access Stick to head to the Security room and unlock the doors.
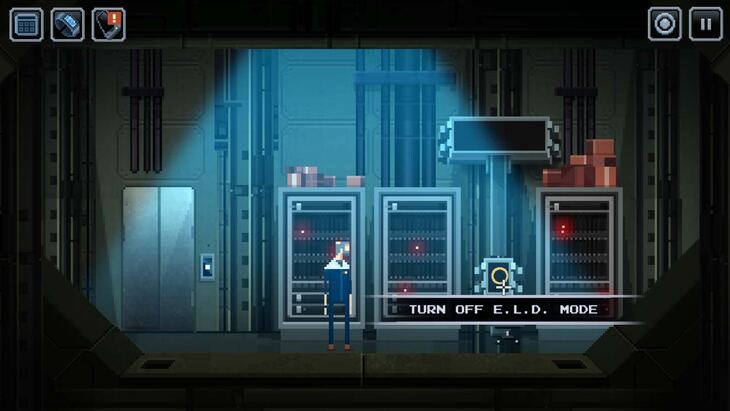
Head down one level (where the offices were) and head all the way left to the Security room. Use Prod’s Access Stick on the door to enter. Head right once you are inside and deactivate the E.L.D Mode. The game will automatically save at this point.
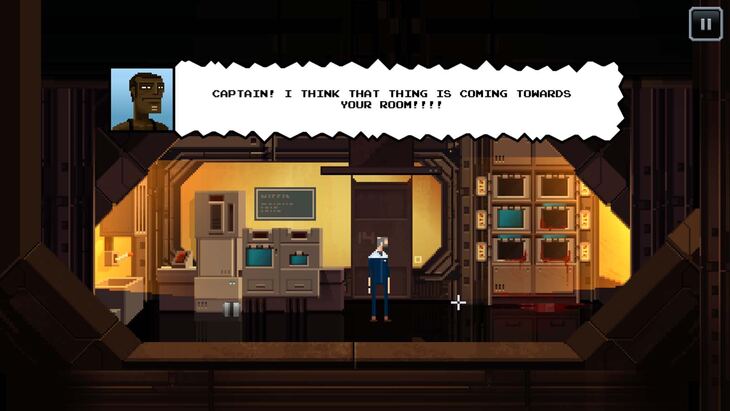
Leave the room and take the elevator going down to return to the laboratory floor. The creature will enter Lab #13, just walk past it into Lab #14.
When you enter, Prod will warn you that the creature is now heading your way. There’s not enough time to grab the Power Supply and you must leave the room immediately. If you don’t, the creature will grab you and you will be forced to start again from the previous save.
The creature will now retreat to Lab #13 again. To avoid playing the game of cat-and-mouse, head to Lab #15.
Head into Lab #15 and pull the handle on the left. Prod will tell you that the creature is coming, and you need to leave or it will kill you and force you to restart.
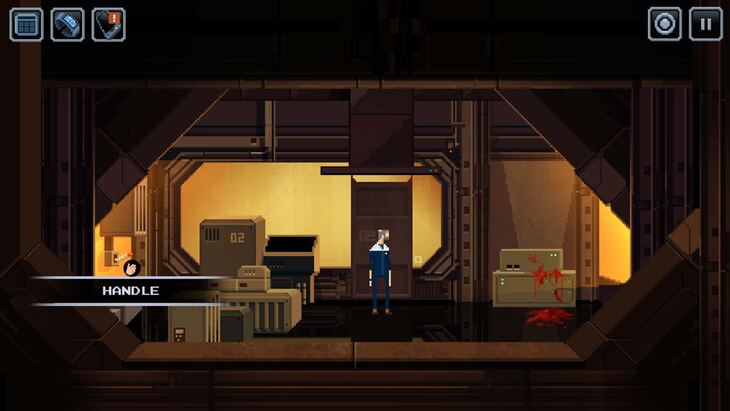
Head into Lab #12 and reach the Handle on the left (don’t actually use it, just reach it!). You will note that the gap is too narrow to easily pass through, and you aren’t likely to escape the monster if you pull the handle. Leave the lab.
Upon leaving, both Umix and Prod will volunteer to go into Lab #12 and distract the creature to allow you to remove the power supply. You can choose either one of them or insist on not risking anyone’s life. Unfortunately, there is no way to not risk anyone’s life.
Even worse, choosing either Umix or Prod will result in their deaths. You can, however, go back to Lab #14 and safely remove the Power Supply after one of them distracts the monster.
Head back to the entrance and use the Power Supply and the Oil Can on the Unit Loader. Enter the Unit Loader and pick up the Wreckage. Move it to the left, drop the Wreckage and exit the Loader. You can then use the Door Control to open the door and head back to the landing pod to leave.
Scenario 2
With Dr. Kake’s Access Stick, head to the Security room at the left end of the hallway. Enter the room and shut down the E.L.D. Mode.
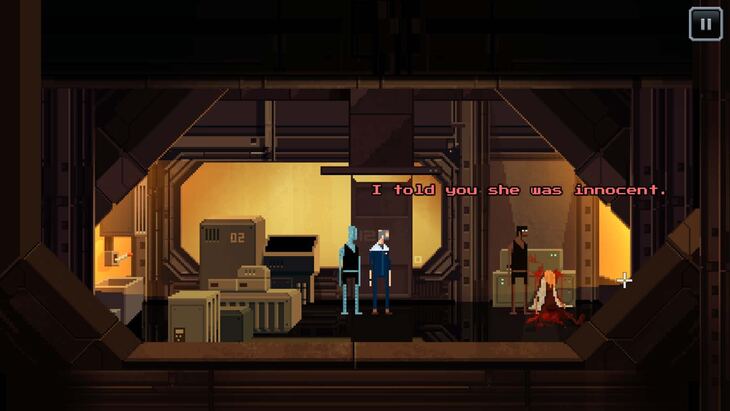
Return to the laboratory level and head into Lab #12 where Dr. Kake was. You will automatically inspect the body on the right in a short cutscene. When it ends, grab the ID Badge off the ground.
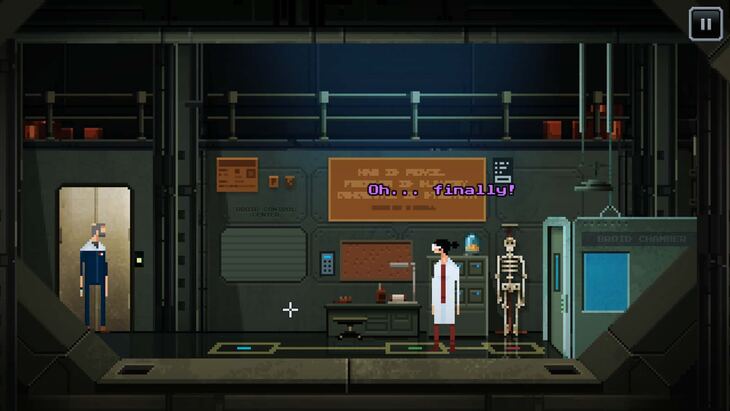
Use the elevator to go up a level and then head left into Dr. Drum’s office (which is the office to the left of the Security Room). You will see the escaped “Dr. Kake” in the office, who will ask to wipe your memory in exchange for getting off the planet and getting $400.
If you accept the deal, you will enter the Broid Chamber. Pull the Chain above the Broid Chamber to continue and you will end up back in your ship. Some days will have passed and you will earn $400 as per the deal you made with the scientist.
Scenario 3
You can choose not to accept “Dr. Kake’s” deal due to lingering suspicions and choose to escape the base on your own.
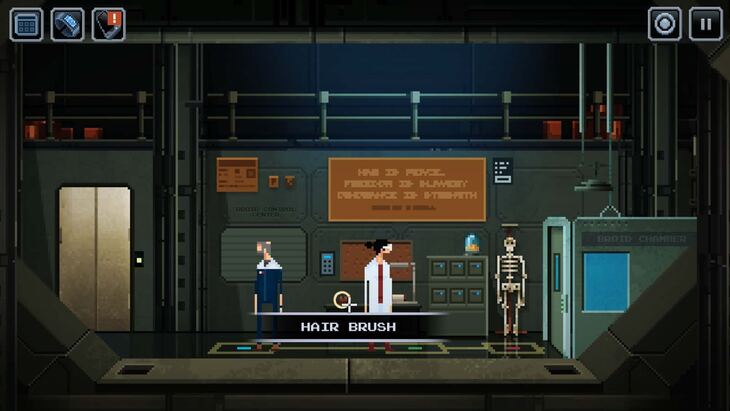
Before you leave, grab the Hair Brush that is on the left side of the table. If it’s not there, “Dr. Kake” is using it to brush their hair, wait for the animation to finish before you grab it.
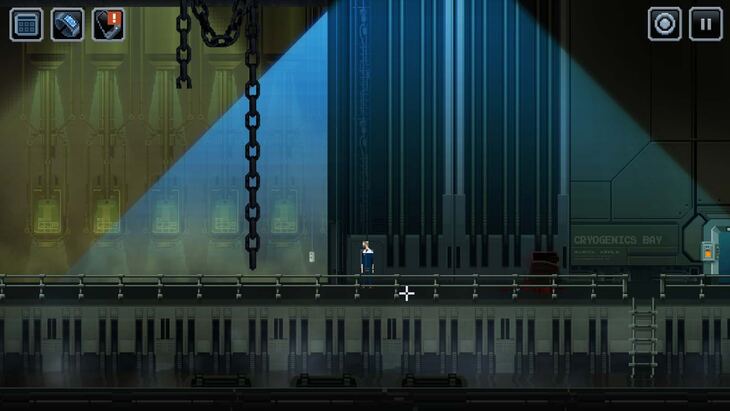
Your next objective is to head into Area 52 and take the elevator down into Cryogenics. Unfortunately, you need to get past the bio-scanner in front of the elevator which requires the right eye color, brain frequency and DNA match.
What you need to do is create a being that matches the right eye color, brain frequency and DNA of someone who would be able to pass the scanners.
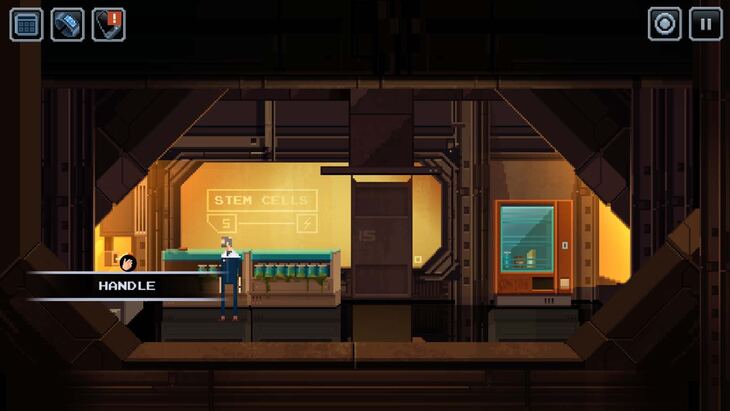
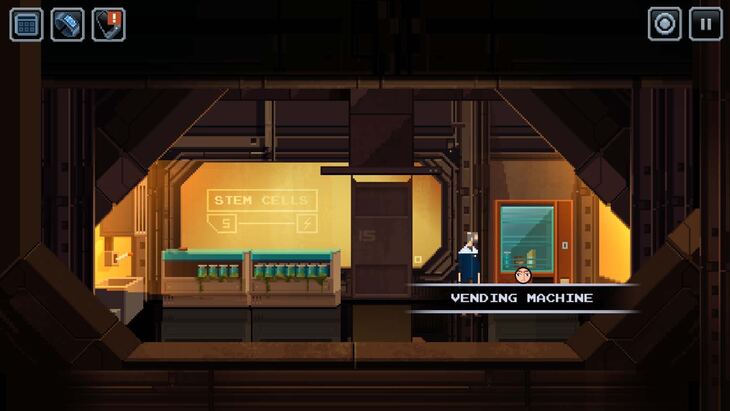
Head to Lab #15, you can find a Vending Machine on the right. Use the Tokens you found in Dr. Kake’s office (inside the Pen Cup) to get a Frozen Yogurt, Cheesecake and a Stem Cell Container.
If you didn’t grab the Tokens earlier, you can find 2 Tokens in this room.
Check the Coin Return Slot on the Vending Machine to get a Token, then grab another Token on top of the Freezer. Flip the Handle on the left and Prod will tell you that the creature is coming for you, which is the signal to leave.
Head into Lab #13 and you will find another Token on the shelf to the left. Grab it, pull the Handle and then head back to Lab #15 to get the Stem Cell Container.
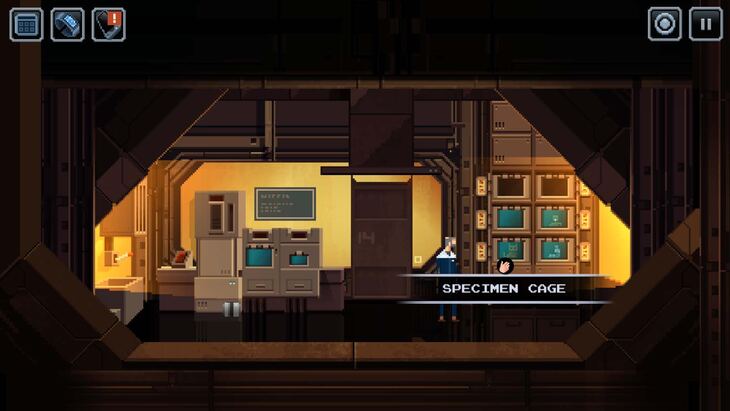
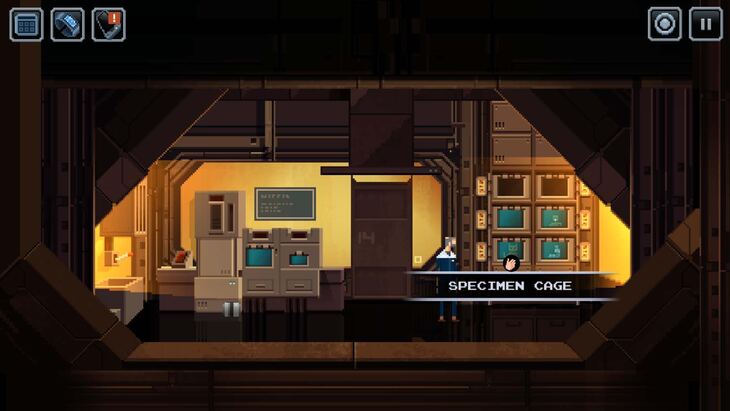
Head to Lab #14 and you can see animals inside the Specimen Cages on the right. You can grab 3 animals, with their information on the side of the cage you take them from. They are:
Cat-like Animal/Cylian Fox:
- Eye Color: Red
- Brain Frequency: 70 Hz
Slug-like Animal/Proto Slug:
- Eye Color: Blue
- Brain Frequency: 117 Hz
One-eyed Animal/One-eyed Rat:
- Eye Color: Blue
- Brain Frequency: 300 Hz
If you have the case files from the office, you will find 3 scientists with the following DNA:
Dr. Kake
- Eye Color: Green
- Brain Frequency: 116 Hz
Dr. Drum
- Eye Color: Blue
- Brain Frequency: 117 Hz
Dr. Hershey
- Eye Color: Grey
- Brain Frequency: 130 Hz
Head to the left side of Lab #14 and you will find the Gen Accelerator Chamber/Genetic Blender. Place the Stem Cell Container in the top of the machine, and the ID Badge/Card into the Secondary chamber on the right, then one of the 3 animals in the Main Chamber.
Press the button to start the chamber. If nothing is happening, remember to close the lids on both the Main and Secondary Chambers (by selecting them again, not the contents inside) to get a green light to appear above said chamber, indicating it is ready.
Depending on the animal you place in the Main Chamber, you will get different results:
- Cat-like Animal/Cylian Fox: Snail-like Animal with White eyes.
- Slug-like Animal/Proto Slug: Snake-like Animal with Red eyes.
- One-eyed Animal/One-eyed Rat: Teddy Bear-like Animal with Blue eyes.
You can switch the ID Badge with the Hair Brush to get the following:
- Cat-like Animal/Cylian Fox: Cat-like Animal with Brown eyes.
- Slug-like Animal/Proto Slug: Octopus-like Animal with Deep Blue eyes.
- One-eyed Animal/One-eyed Rat: Lizard-like Animal with Dark Blue eyes.
The animal you need to get past the scanner is the
Spoiler:
.
Head down the Cryogenics elevator and then head right to press the Door Control. When the door has fully lifted, use the nearby Remote Control.
When a row of chambers activate, first inspect and then interact with Chamber 23. You will find Umix inside, who you can ask to accompany you on your way out.
Inspect and interact with Chamber 24 to release another body, Prod Wontoon. Prod will talk about the “Dr. Kake” that you met and will ask to meet with the doctor to clarify matters. Head back to the elevator and use the Octopus-like Animal to get you back up. If that doesn’t work, Prod will take over and get you through anyway.
When you arrive back at the laboratory level, you will take Prod to Lab #12. Prod will confirm you have been talking to an impostor, and hand you Prod’s Locker Key to the Utility Locker on the office level.
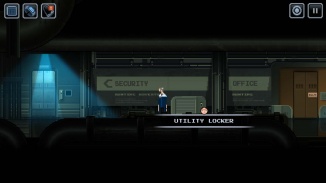
Umix and Prod will temporarily leave your party. Head up to the office level and the shaking will prevent access to the elevator. You will find the Utility Locker by going to the left, between the Security room and Dr. Drum’s office.
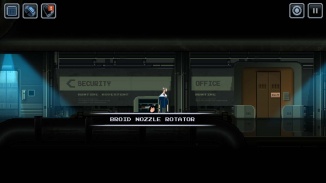
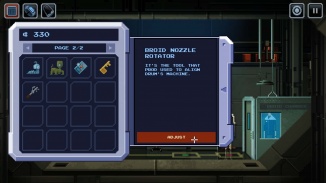
Use Prod’s Locker Key on the Utility Locker to get the Broid Nozzle Rotator.
Head inside Dr. Drum’s office and talk to Dr. Drum. Accept the offer and you will head inside the machine. Don’t pull the chain as instructed; instead use the Broid Nozzle Rotator on the Nozzle to the chain’s left, then pull the chain. 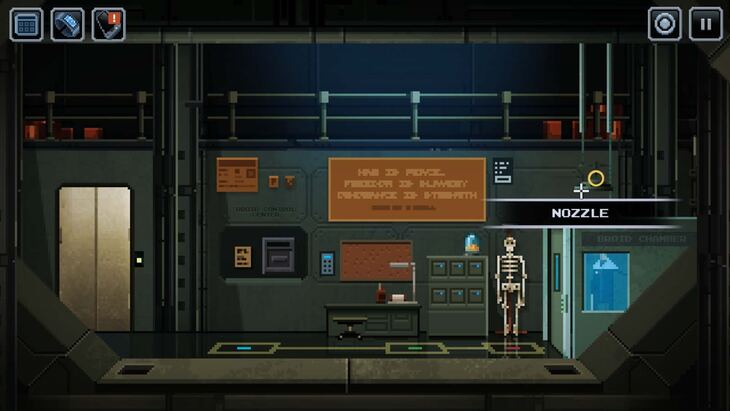
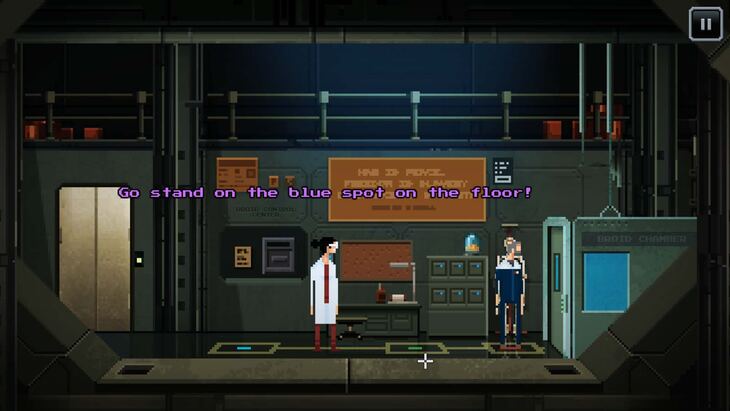
Dr. Drum will then give you orders to stand on different parts of the floor, marked by colored dots. The order is green, red and then blue. Follow those orders or you will have to repeat the process as Dr. Drum will reset everything.
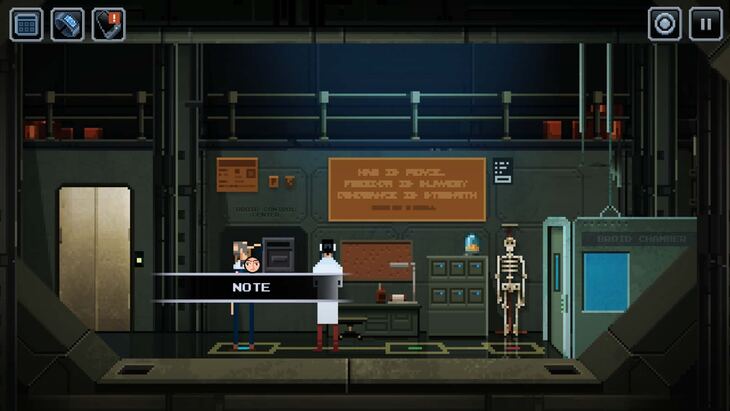
You are then told to stand still. While you are standing still, inspect the Note to the left of the Broid Control Center to learn the code is 321.
Deliberately fail by moving outside the blue spot and Dr. Drum will reset the experiment. Repeat the process to go back into the Broid Chamber. This time, you can unlock the door with the code and leave.
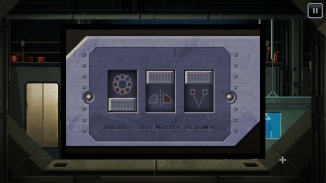
Examine the Control Center to set a 10 second delay on the process. Head to your inventory and select the Broid Nozzle Rotator. Choose to adjust the tool to change the settings. Flip the left switch down, the middle switch up and the right switch up. Use the newly adjusted tool on the Nozzle to change its position, then pull the chain.
If you have done everything right, Dr. Drum will be hit by the Broid Nozzle. You can ask her to do whatever you want, but ultimately ask her to unlock the elevator doors.
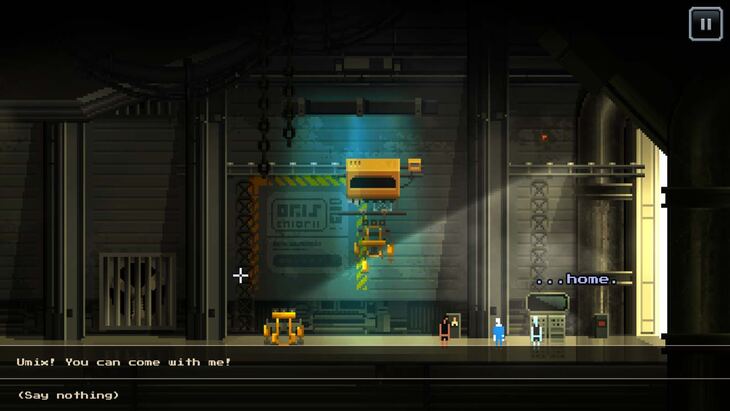
After a few scenes play, Prod will bid farewell to you. Umix will plan to leave for their home planet; you can ask them to join you or say nothing.
Prod will also tell you that they unlocked an A.A.E container near the landing pod with some equipment you can use. Inspect the newly unlocked container to the left of the landing pod and you will get 2 Nukes in your inventory.
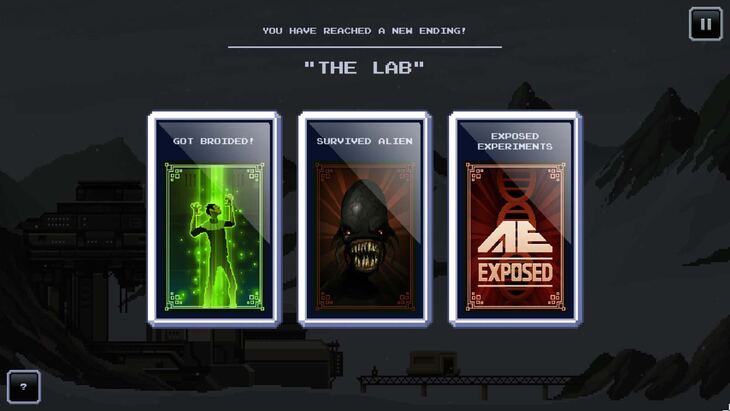
You will get 1 of 3 Ending Cards depending on your choices.
If you took the deal from Dr. Kake, you will get the “Get Broided” Ending Card. You will lose 11 days and be in a different position on the Star Map when you regain control, but also gain $400.
If you escaped from the alien with Umix/Prod, you will get the “Survived Alien” Ending Card.
If you exposed Dr. Drum’s experiments and successfully neutralized them with the Broid chamber, you will get the “Exposed Experiments” Ending Card. You will also gain 2 Nukes and a Nuke Module Blueprint. You will also get Umix if you asked them to come with you.
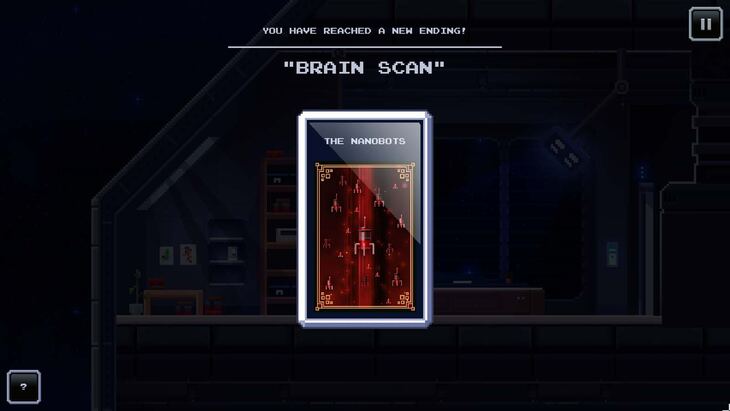
If you did get the "Get Broided" Ending Card, you will be able to visit your Bio-Chair in your ship after the incident. After the scene, you will get the "Nanobots" Ending Card, and you can disassemble the nanobots for Dromium.
If you brought Umix along as a crew member, you will always get a notification to visit Xerum around the time you have finished completing Epsilon Station.
It's time to visit The Bulkidus since it is on the way. If you didn't rescue Glacies, you can visit Soma instead.
0 commenti:
Post a Comment