As you approach Soma, some scenes will play and Defense Station Ortis will be under attack. You will ask Ship for options.
- The first option requires getting better weaponry and equipment as you will fight your way through.
- The second option will be going through an unofficial smuggling route. Shuttle will point out the route on your map, but will also mention they require at least 3 star fragments as payment.
- The third option will be creating disruptors using the new blueprints that were sent out as a result of the attack. You will need to make 5 of them.
- Advertisement -
<?XML:NAMESPACE PREFIX = "[default] http://www.w3.org/2000/svg" NS = "http://www.w3.org/2000/svg" />
Note that if you are using the 3rd option, you must repair your ship’s Auto Forge with 1 Energy Capsule in order to create the disruptors.
Whichever option you prefer, you will get the Suppression Beam Disruptor blueprint.
As you get closer to Soma, another scene will play, talking about a supply of Dromium. This will be essential if you want to build the disruptors, as Dromium is a component.
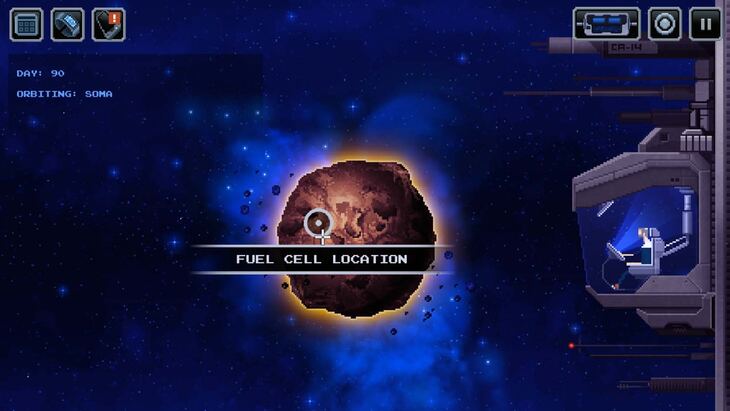
When you arrive at Soma, your only location is the Fuel Cell Location. You can contact the location but it won’t provide anything meaningful.
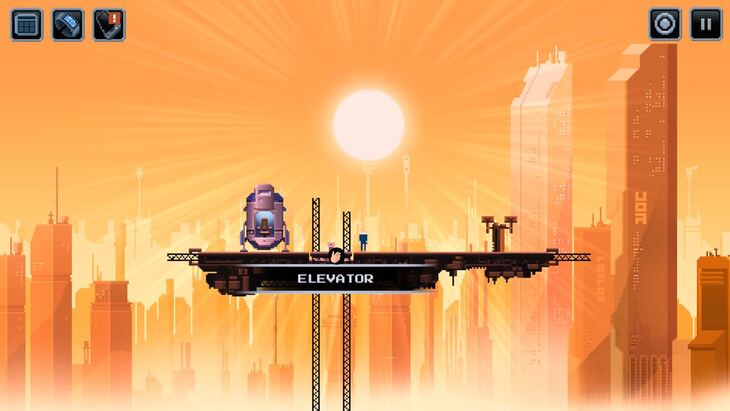
When you arrive, head down the Elevator in the center of the landing area.
When you reach the bottom, you will see a Subspace Network Hub and an Abandoned Utility Truck. You can’t do anything with the Network Hub and the door to the truck is locked. Keep going east until the screen shifts.
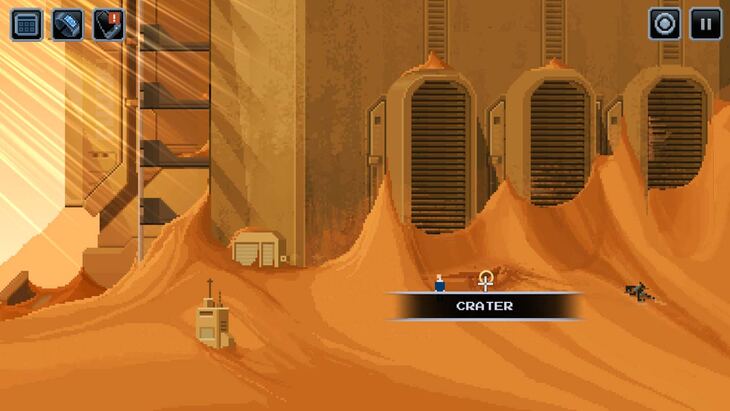
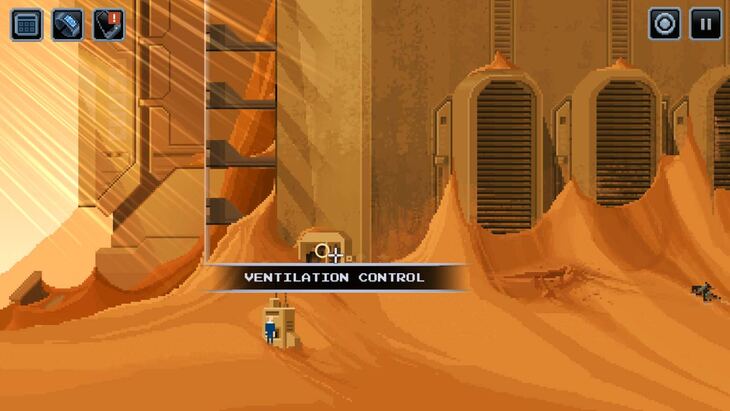
In the next area, keep going east until you can find the Crater, which should be below some large ventilation units. That is where the Fuel Cell is located, but you can’t reach it since you can’t dig fast enough to uncover it.
Investigate the Broken Droid to the right of the Crater to find a Metal Card. Head back to the Abandoned Utility Truck and use the Metal Card on the Truck Door. This will unlock the door, allowing you to enter.
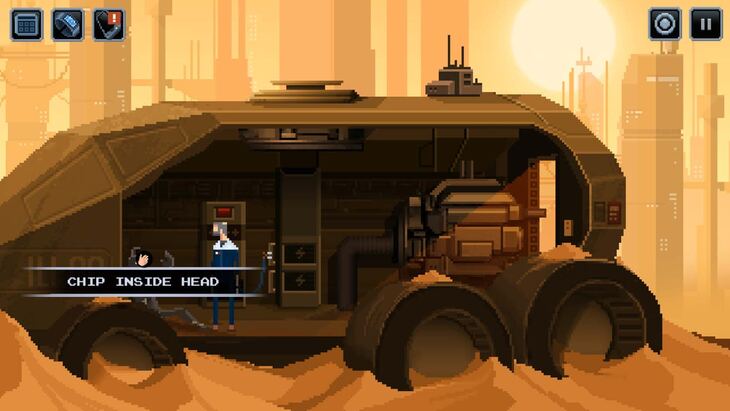
Inside the truck, head to the left and at the bottom of the Big Red Button, there will be a Battery Hatch. Open the hatch to find a Battery Cable. Interact with the Battery Cable to pick it up, then use the Battery Cable icon that has appeared in a square on the upper left and drag it to the Droid.
Press the Big Red Button and the droid will drop the Multi Tool that it has been holding. Click on it to add the Multi Tool to your inventory. Once you do that, the droid will successfully boot up, introduce itself as Straw and start talking to you. It doesn’t mention much that is meaningful, other than a fungus that is preventing it from further conversation.
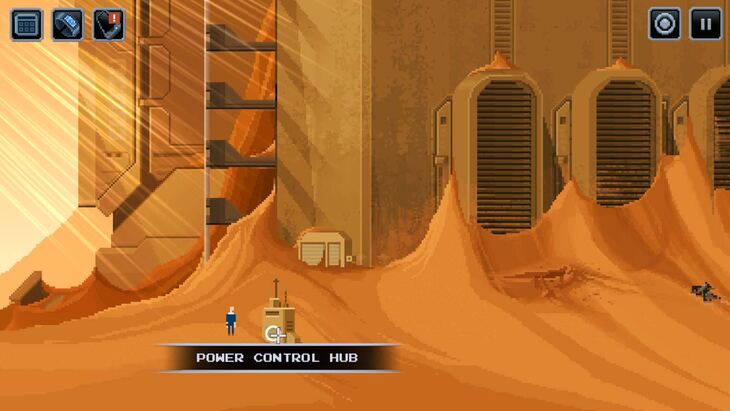
With the Multi Tool, head east of the Truck to the Power Control Hub and use the Multi Tool on the Hub. This will open up a hatch in the Hub that has a Battery that you can take.
Return to the Utility Truck and put the Battery in the Charging Station. Take the Battery Cable from Straw/the droid and put it on the Charging Station, then press the Big Red Button.
Straw will be responsive again, and you can continue to ask more questions. When it becomes unresponsive, return to the Power Control Hub. Put the charged Battery back in the Hub and the Ventilation Controls will be accessible.
Head to the Ventilation Controls northeast of the Power Control Hub and use your Multi Tool on the Ventilation Controls. This will fix the Controls, and now you need a control chip to activate the ventilation systems.
Head back to the Utility Truck and talk to Straw/the droid again. After the conversation, Straw will open its head to allow you to take the chip inside and use it on the Subspace Hub to restore Straw.
Once you take the Straw Chip, Shuttle will contact you. You will learn that there are 3 options:
- You can use it on the Ventilation Controls to reach the Fuel Cell, though this will cost the Chip.
- You can upload it to the Subspace Hub and restore STRAW.
- You can take it with you as it is a valuable source of Dromium.
There is no option that doesn’t use the Chip, and you can only pick one.
For the Ventilation Controls, you must use the Chip on the controls and confirm that you are willing to use the Chip.
For the Subspace Hub, you must first use the Hub which will bring up an inactive screen. Use the Chip on the upper left slot and then press “Start” to begin the transfer process. This action will give you 1 point towards the “Good Guys” achievement and lock you out of the “Bad Guys” achievement.
Regardless of the option you pick, head back to the landing pod when you are done and leave.
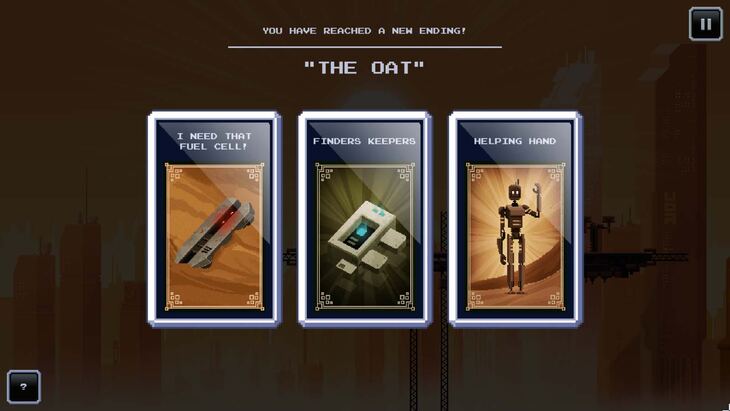
You will get 1 of 3 Ending Cards depending on your choices.
If you chose to use the Chip on the Ventilation Controls and grabbed the Fuel Cell, you will get the “I Need That Fuel Cell!” Ending Card, as well as a Fuel Cell in your cargo.
If you chose to take the Chip with you, you will get the “Finders Keepers” Ending Card. You will get the Straw Chip in your cargo.
If you chose to use the Chip on the Subspace Hub, you will get the “Helping Hand” Ending Card.
Now it is time to pick up the last Fuel Cell at Creon Crystal.



0 commenti:
Post a Comment