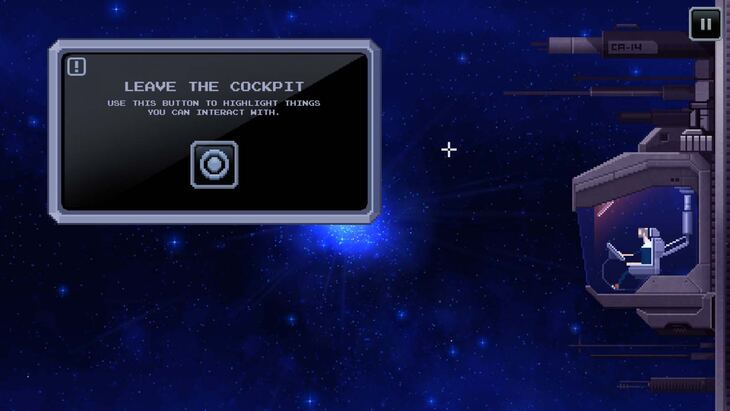
fter the exposition explaining the story, you will gain control of Captain Welmu. Your first goal is to leave the cockpit. You are also told you can click a grey target-like button which will briefly highlight interactable objects with a sparkling white dot when clicked on.
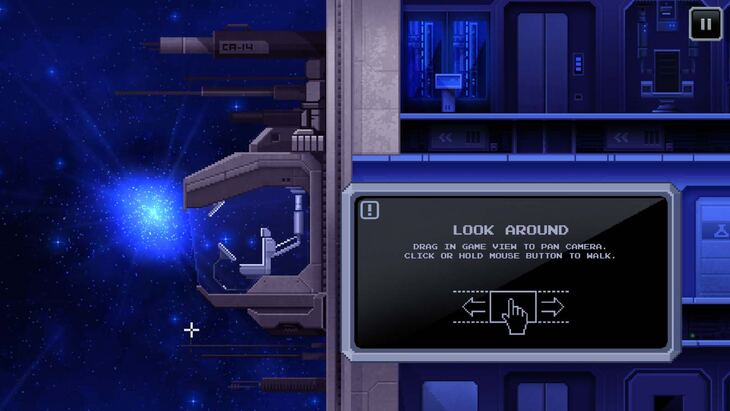
Click the right side of the cockpit to exit, and click the area to the right. You will then get another tutorial explaining you can click and drag to move your view of the screen. You can also click a location/hold the mouse button to walk.
Move to the right of the area to learn that a Crowbar is currently highlighted (with the sparkling dot). Click on the Crowbar and two options will appear. A pair of eyes to examine an object, and a hand to take an object. Choose to take the Crowbar and then head to the right to the Service Droid Panel.
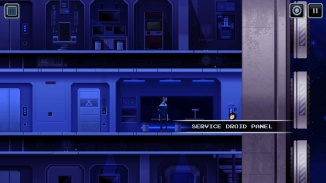
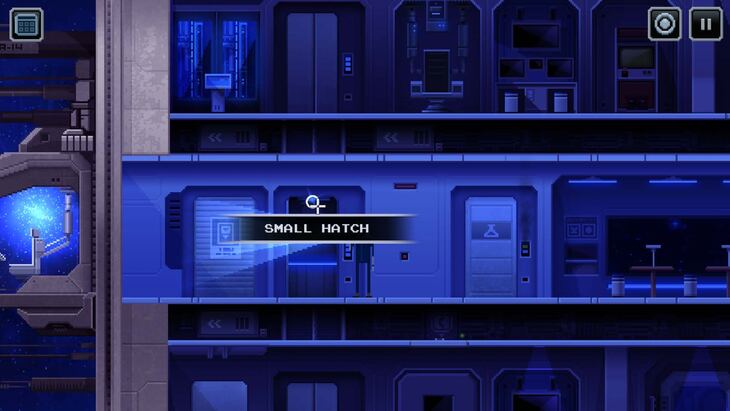
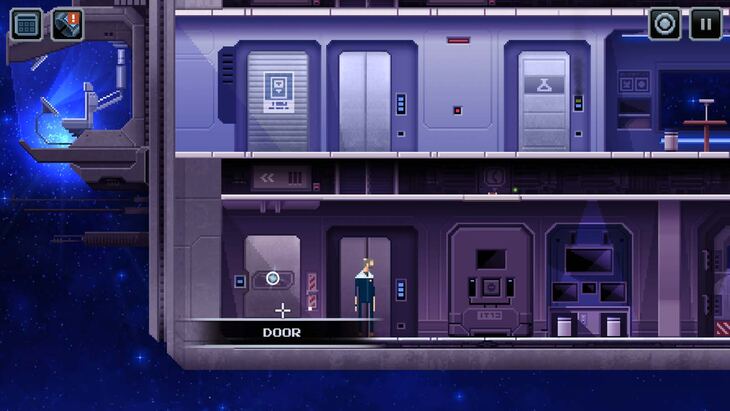
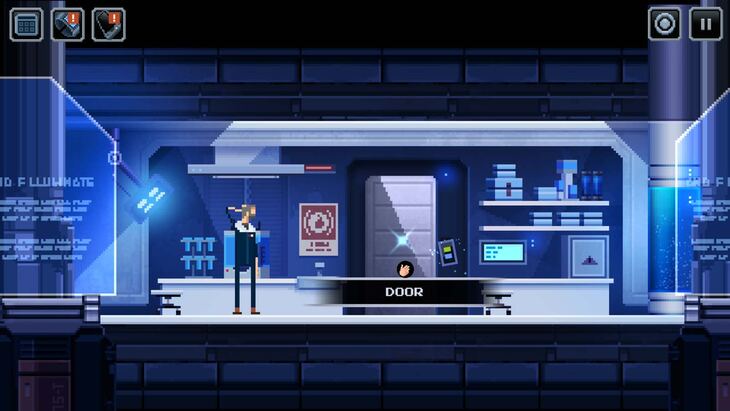
Click the Panel and choose Open, then choose the Elevator (the Lab Door won’t work). Head to the open elevator on the left (the door before the cockpit entrance) and you will see a sparkling dot at the top of the elevator which is a Small Hatch.
Click the Inventory icon at the upper left corner and select the Crowbar from your inventory. Drag it to the Small Hatch and you will be able to open the hatch and get to the upper level.
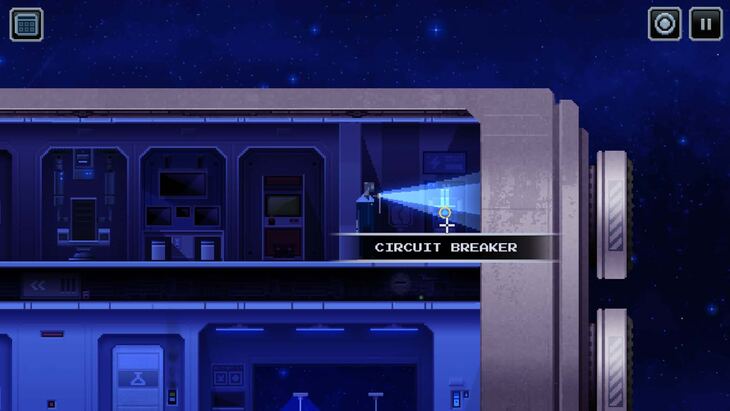
Head right to find the Circuit Breaker, then click to use it. Power will be restored, and you will be able to communicate with your ship again.
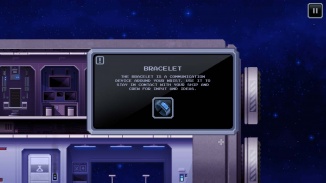
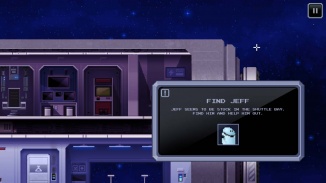
You will gain access to your Bracelet, which allows you to communicate with others on the ship with you. Select the Bracelet icon in the upper left (next to the Inventory icon) and choose to speak with Jeff. Your next mission will be to find Jeff.
Head to the Elevator on the left and use it to go down to the LPV/Airlock level. When you arrive, use the door to your left to proceed.
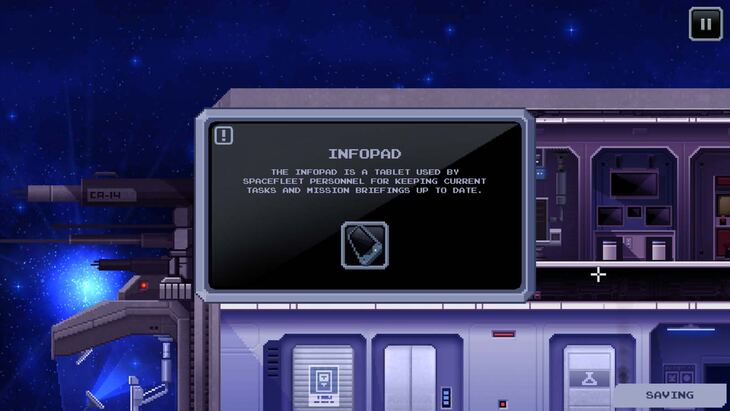
You will rescue Jeff from Shuttle and will need to head into the lab. The door is locked, but Jeff will open a hatch to let you make your way down the maintenance hatch through the service corridors. You will get the Infopad, which serves as a way to remind yourself of mission objectives.
You are back on the top floor of the ship. Head right to the Circuit Breaker and use the newly accessible Hatch on the ground to make your way to the lab. Crawl to the left and use the Hatch to Science Lab to continue.
When inside the lab, simply select the door on the right to fix it. After repairs are complete, Shuttle will inform you that you need to go back to the cockpit. Select the door to leave and then head left back into the cockpit (or the Command Chair).
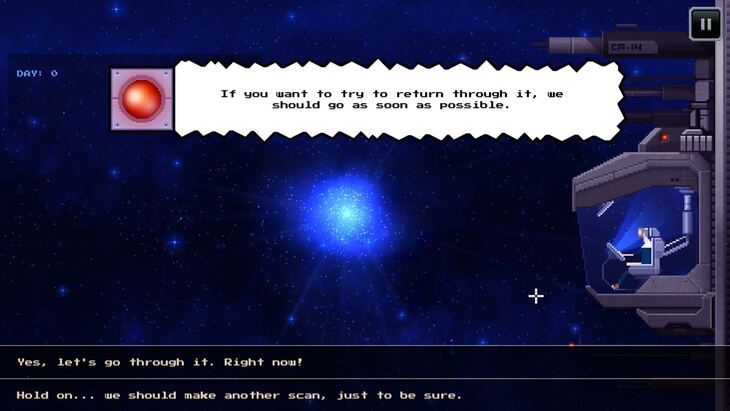
After an update on your situation, Shuttle will inform you that a wormhole has just appeared. Two choices will appear:
- Yes, let’s go through it. Right now!
- Hold on…we should make another scan, just to be sure.
Whichever option you pick, the wormhole disappears and it is like it never existed.
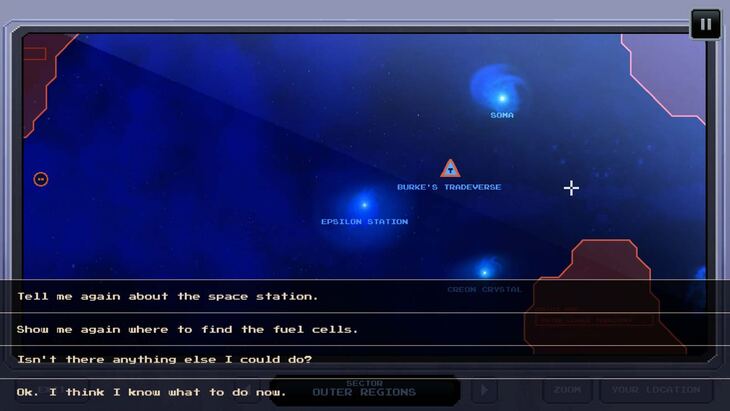
You realize you have none of the fuel cells you need and you need at least 1 out of the 3 to succeed. The locations are:
- Desert Planet
- Soma
- Creon Crystal
You are also advised to head back to the Epsilon Station to investigate what went wrong with the initial transport mission.
You can ask Shuttle to repeat those locations in case you forgot where you needed to go.
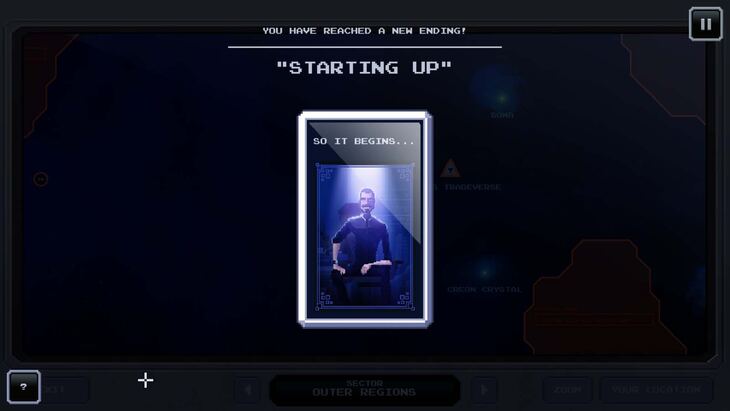
Once you are aware of your options, you will get the Ending Card “So It Begins…”. The Captain has multiple endings, which are stored in your profile. An Ending Card represents one way to end your adventure.
To experience all the endings without having to play through the entire game again, Ending Cards are autosaves made whenever you have “completed” an area, allowing you to quickly complete areas on future games without having to complete all of the puzzles again.
Upon completing a planet and revisiting it in another playthrough, you can click the lower left corner which says "Auto-Complete Adventures" which lets you pick an Ending Card that you have previously achieved. The game will progress as if you already played through the planet's adventure, giving you the same items, results and crew members that you previously achieved.
When you regain control, you will get a distress signal from the Desert Planet that you are obligated to respond to.
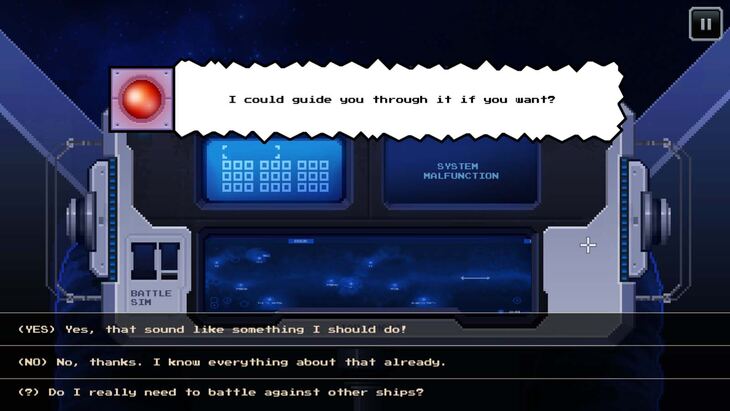
In the cockpit, select the Main Computer and Shuttle will ask to run you through the Battle Simulator. Battles are actually optional, but you can get salvage to create essential equipment if you participate in battles.
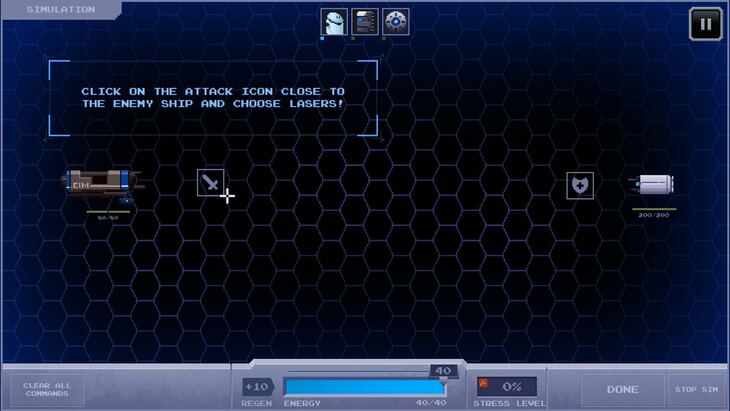
If you start the simulation, Shuttle will run you through the basics of a battle. If you plan on battling, it is worth paying attention to.
When you are done with the simulation, you can select the Star Chart at the bottom of the screen to begin traveling. The Battle Simulator is to the left of the Star Chart in case you want to get more practice.
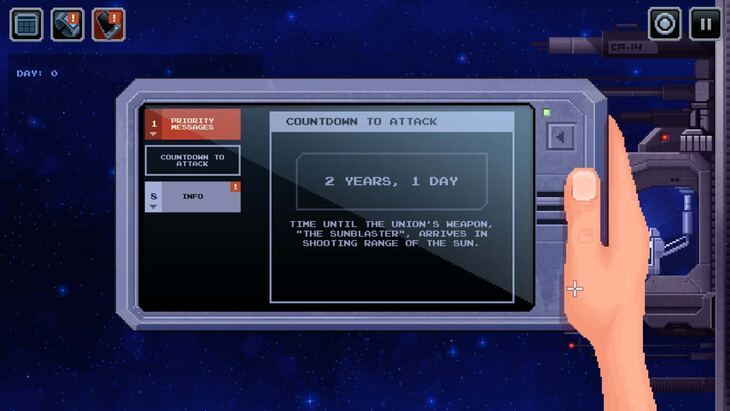
At this point, you are free to travel wherever you want. Keep in mind that there is a time limit of 2 years and 1 day before you lose the game, and you can check the Infopad’s Priority Messages section to check how much time you have left.
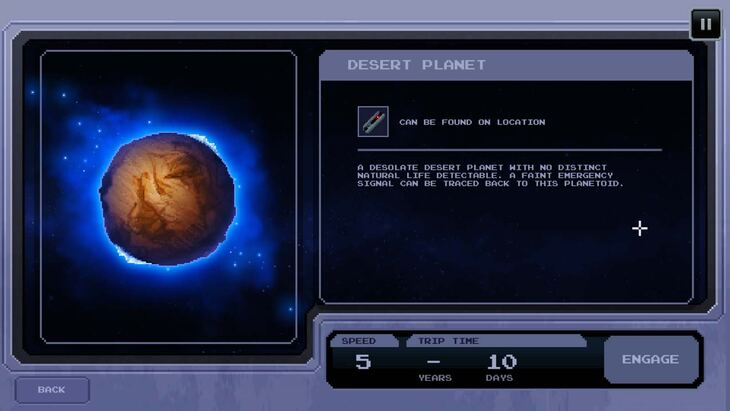
You can also check how much time traveling to a location will take up by selecting a location (in this case the Desert Planet) and looking at the lower right hand corner to see how much time it would take to travel.
You can go anywhere you like, but for this walkthrough, you will head through the Desert Planet first.
0 commenti:
Post a Comment